Querying AlloyDB Data as a Graph
Summary
In this tutorial, you will:
- Create a AlloyDB database and load it with example data;
- Start a PuppyGraph Docker container and query the AlloyDB data as a graph.
Prerequisites
- Please ensure that
dockeris available. - You need an account of Google Cloud Platform with access to AlloyDB.
- Accessing the PuppyGraph Web UI requires a browser.
Deployment

docker run -p 8081:8081 -p 8182:8182 -p 7687:7687 -e PUPPYGRAPH_PASSWORD=puppygraph123 -d --name puppy --rm --pull=always puppygraph/puppygraph:stable
Create a cluster of AlloyDB


An overview of the cluster to be created
Certain configuration options remain editable after cluster creation, including connection settings. Access via public IP address necessitates the implementation of an authenticated network. For demonstration purposes, we may just use an plaintext connection.
Data Preparation
This tutorial is designed to be comprehensive and standalone, so it includes steps to populate data in AlloyDB. In practical scenarios, PuppyGraph can query data directly from existing tables in your AlloyDB databases.

psql. The default username and database name are both postgres if you did not change them in the previous step.

create schema modern;
create table modern.person (id text, name text, age integer);
insert into modern.person values
                              ('v1', 'marko', 29),
                              ('v2', 'vadas', 27),
                              ('v4', 'josh', 32),
                              ('v6', 'peter', 35);

create table modern.software (id text, name text, lang text);
insert into modern.software values
                                ('v3', 'lop', 'java'),
                                ('v5', 'ripple', 'java');

create table modern.created (id text, from_id text, to_id text, weight double precision);
insert into modern.created values
                               ('e9', 'v1', 'v3', 0.4),
                               ('e10', 'v4', 'v5', 1.0),
                               ('e11', 'v4', 'v3', 0.4),
                               ('e12', 'v6', 'v3', 0.2);

create table modern.knows (id text, from_id text, to_id text, weight double precision);
insert into modern.knows values
                             ('e7', 'v1', 'v2', 0.5),
                             ('e8', 'v1', 'v4', 1.0);
The above SQL creates the following tables under the modern schema:
| id | name | age |
|---|---|---|
| v1 | marko | 29 |
| v2 | vadas | 27 |
| v4 | josh | 32 |
| v6 | peter | 35 |
| id | name | lang |
|---|---|---|
| v3 | lop | java |
| v5 | ripple | java |
| id | from_id | to_id | weight |
|---|---|---|---|
| e7 | v1 | v2 | 0.5 |
| e8 | v1 | v4 | 1.0 |
| id | from_id | to_id | weight |
|---|---|---|---|
| e9 | v1 | v3 | 0.4 |
| e10 | v4 | v5 | 1.0 |
| e11 | v4 | v3 | 0.4 |
| e12 | v6 | v3 | 0.2 |
Graph Schema

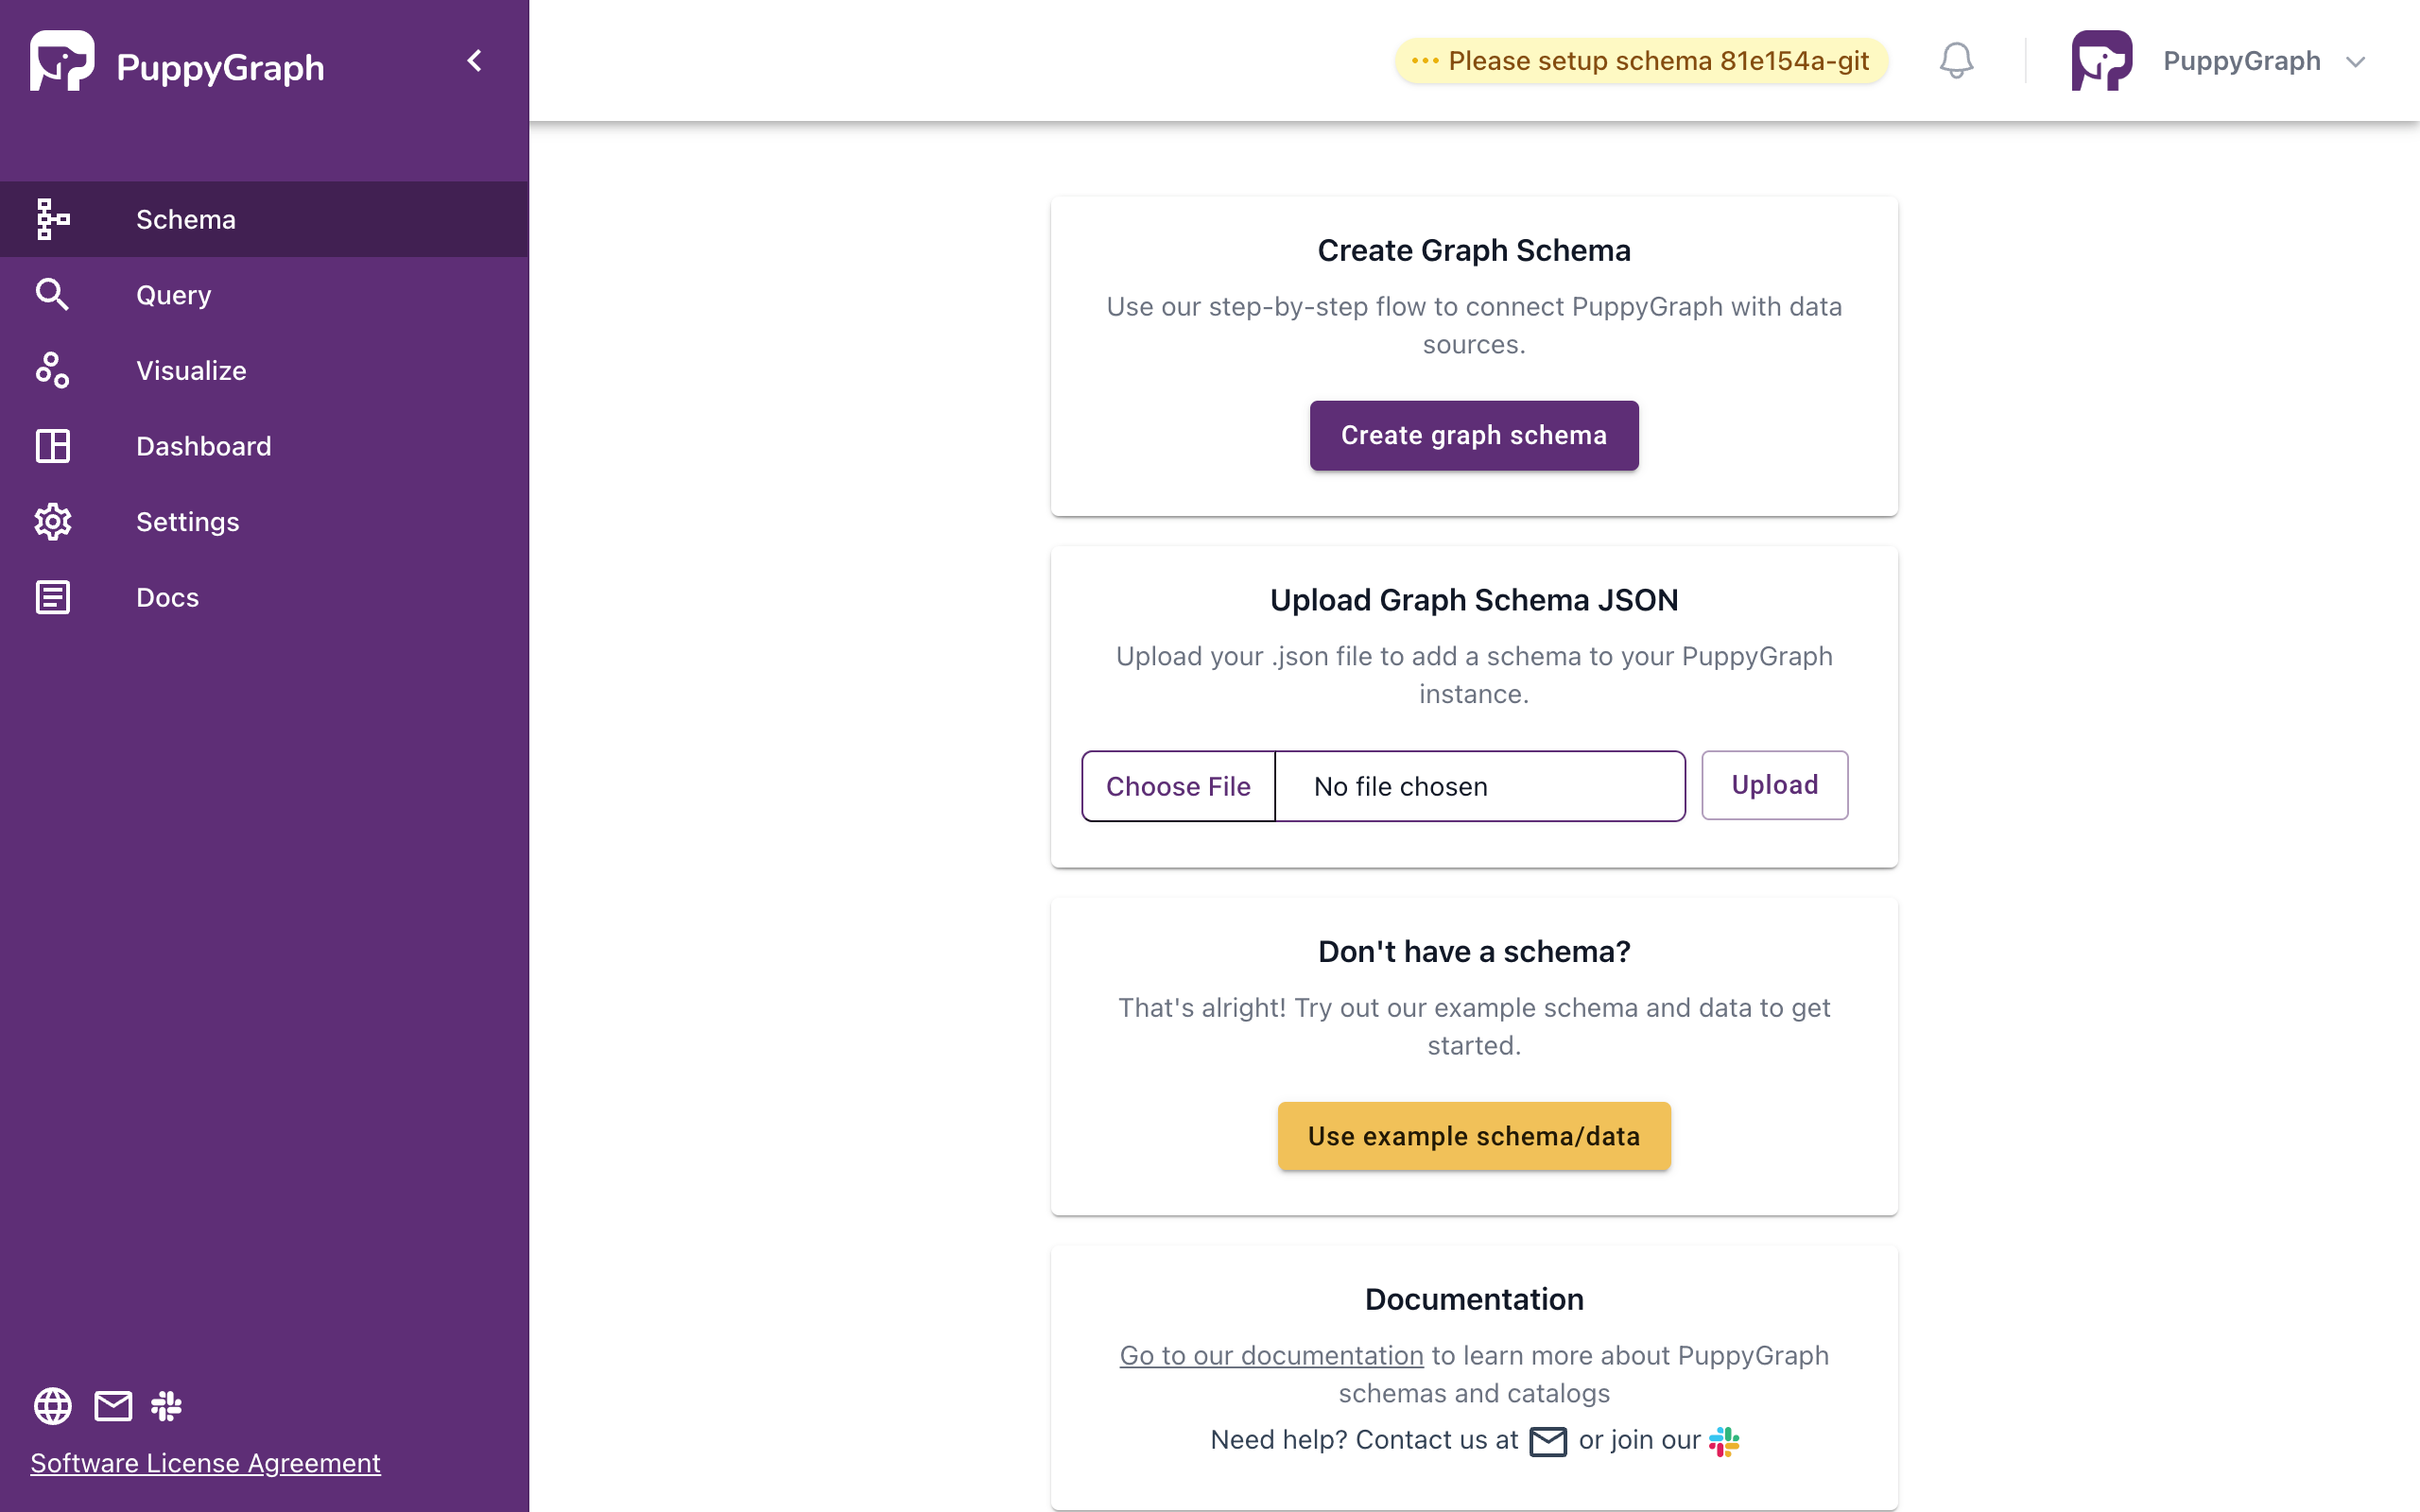
Graph Schema
Note that you need to change JDBC URI according to the IPs of your cluster. It can be the IP of primary instance or the read pool.
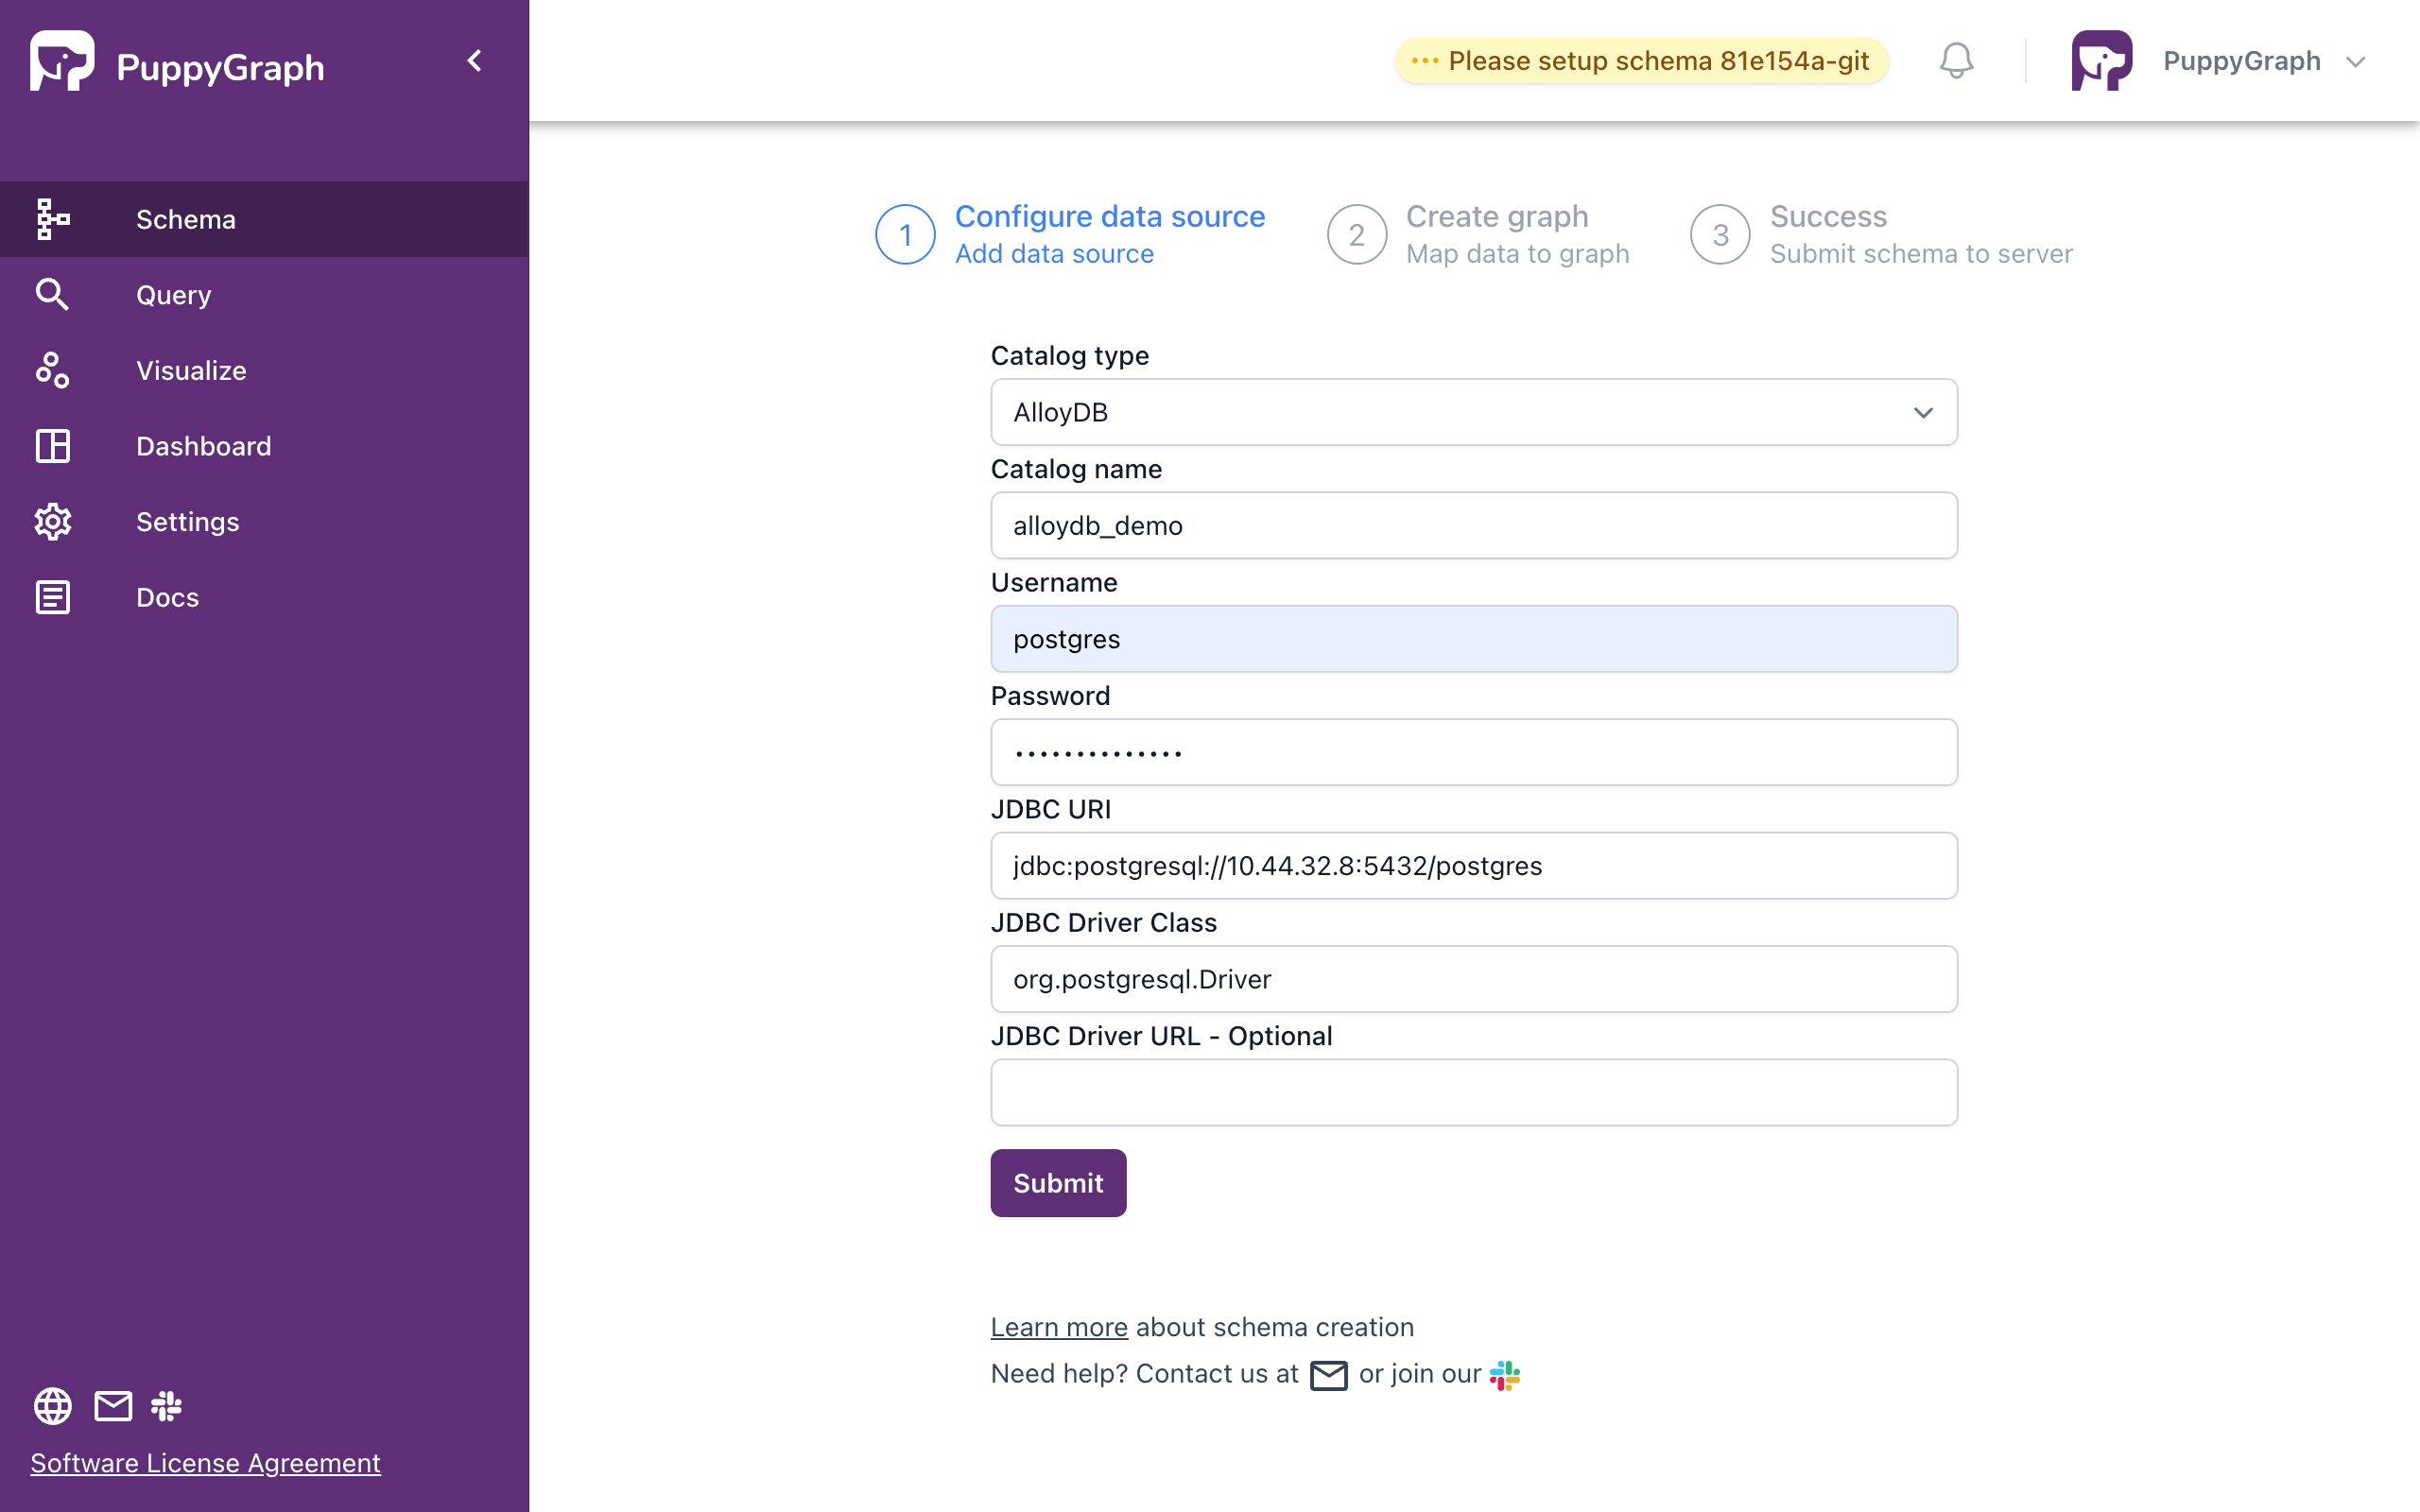
Configure data source
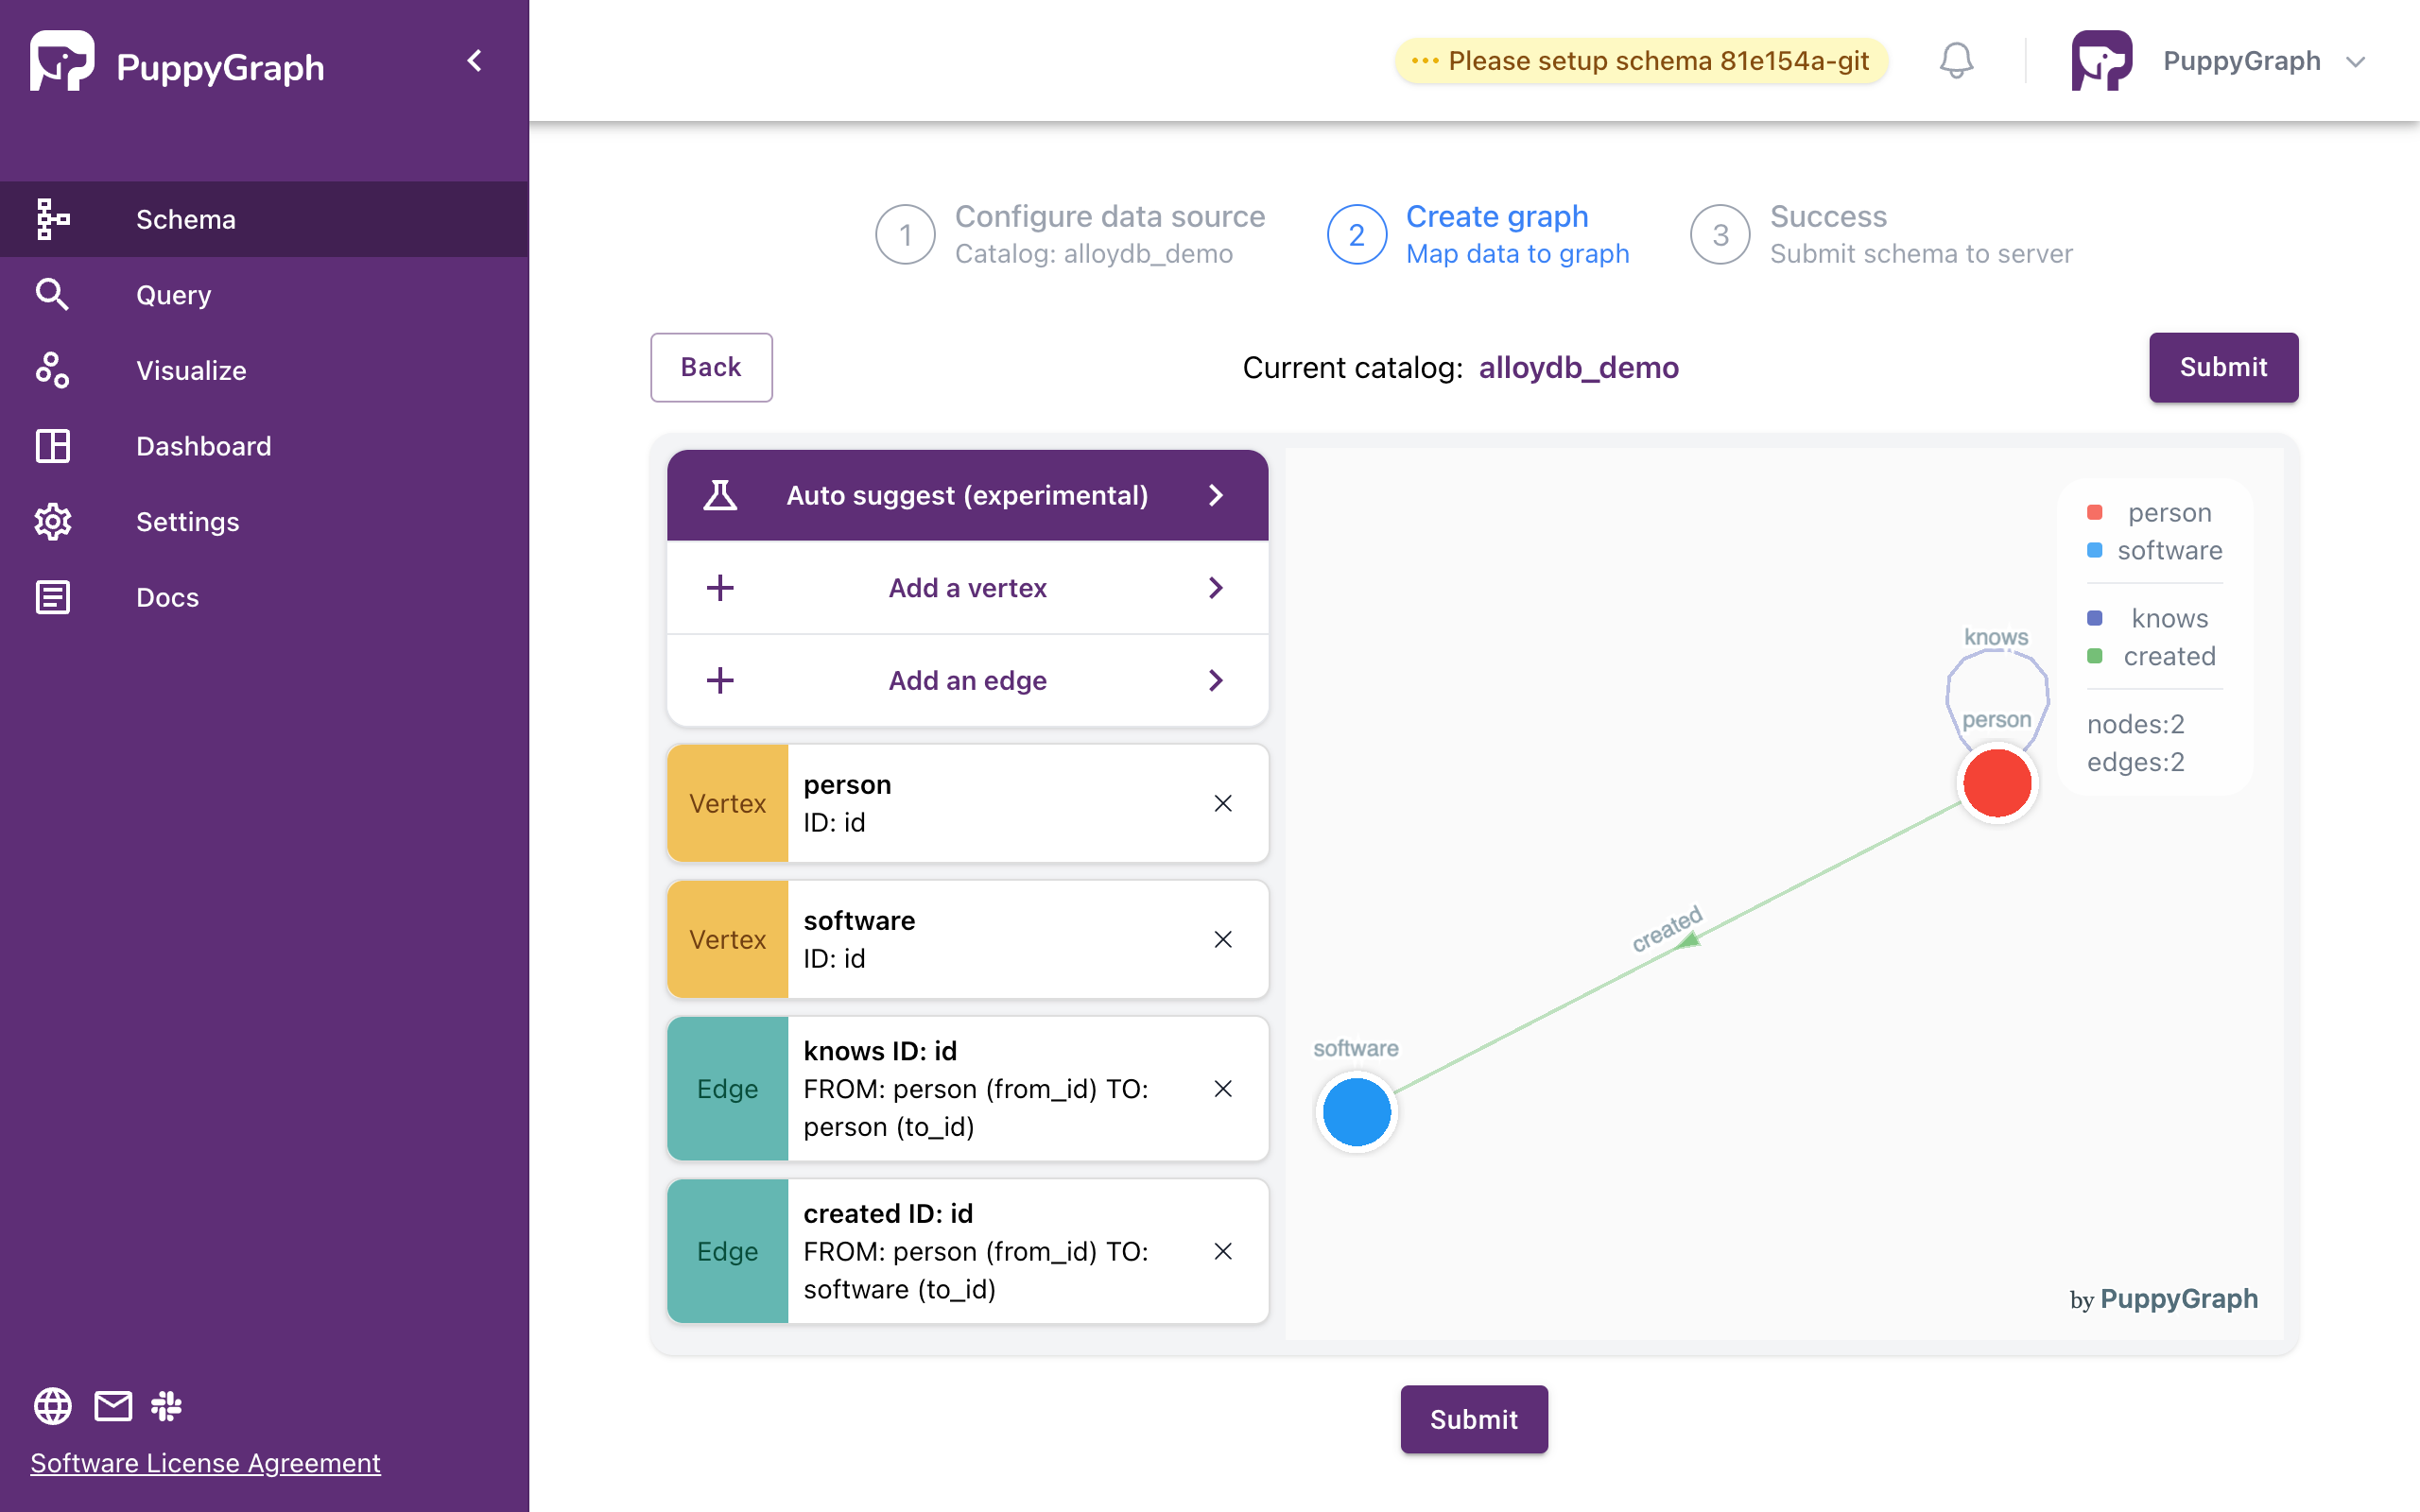
Create the graph
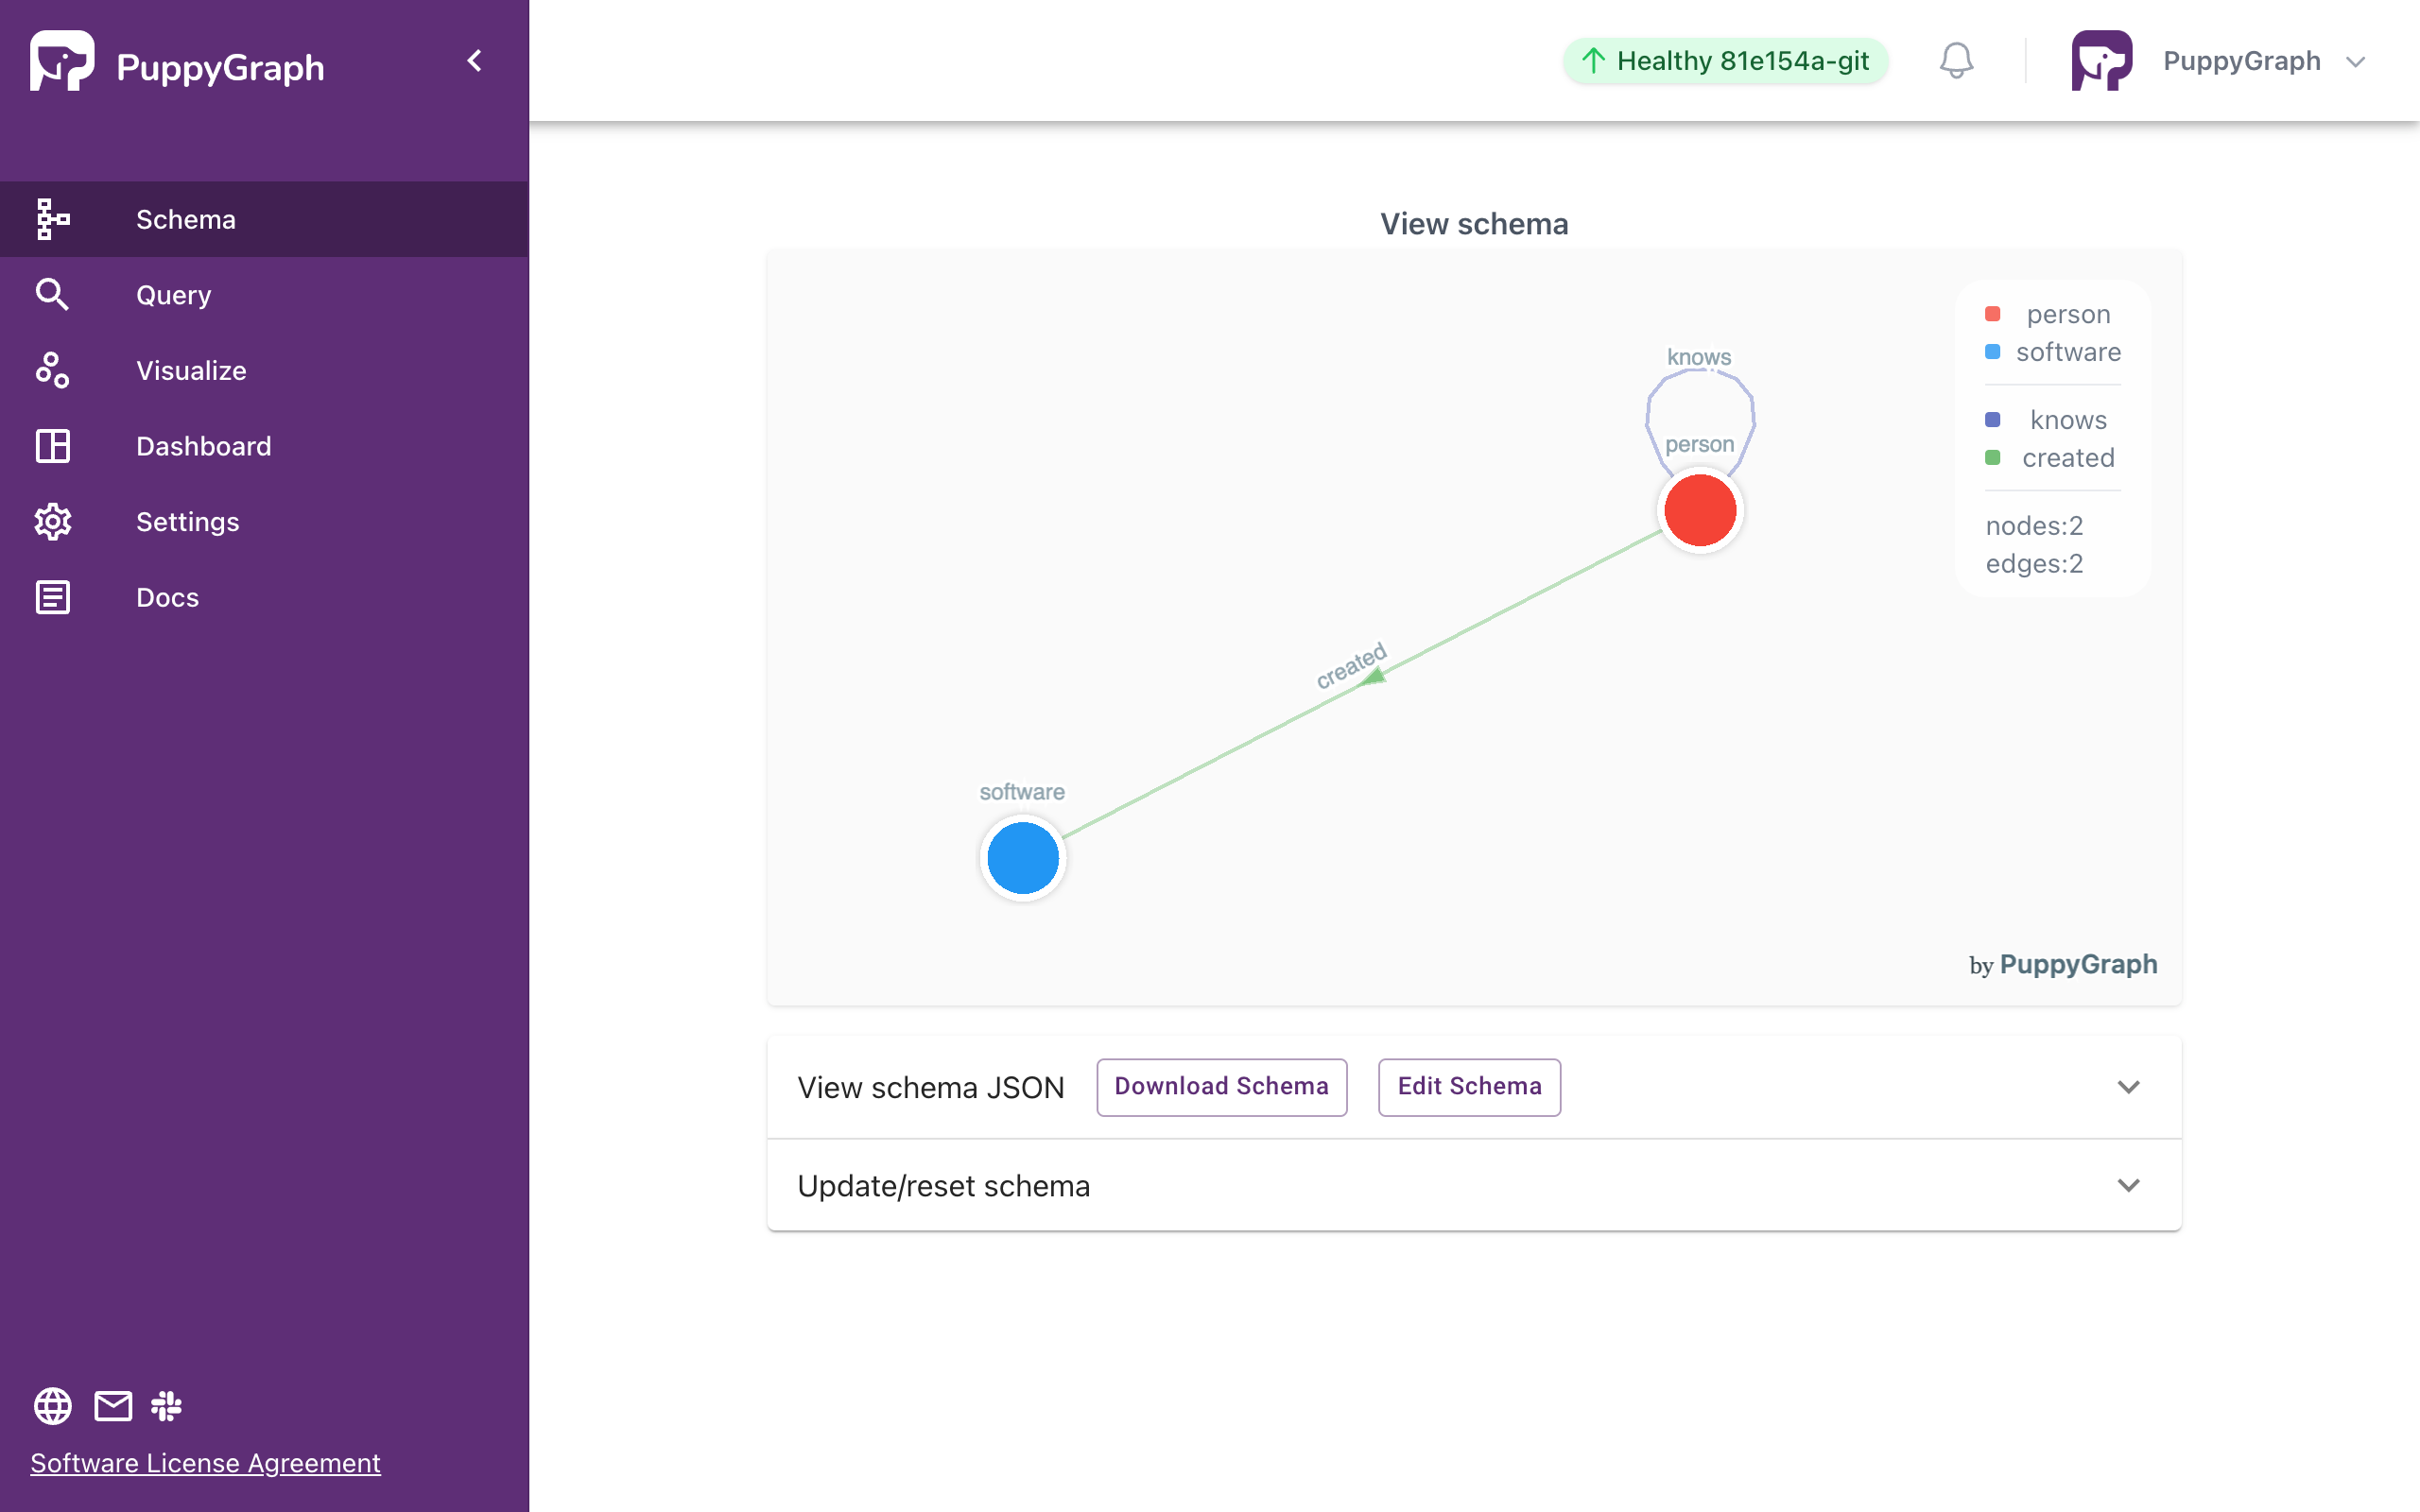
Successful schema creation
Alternative: Schema Uploading via CLI

schema.json file with AlloyDB connection information filled. Then run the following command to upload the schema file:
schema.json
{
  "catalogs": [
    {
      "name": "alloydb_data",
      "type": "postgresql",
      "jdbc": {
        "username": "<username>",
        "password": "<password>",
        "jdbcUri": "jdbc:postgresql://<alloydb_uri>:<alloydb_port>/postgres",
        "driverClass": "org.postgresql.Driver"
      }
    }
  ],
  "graph": {
    "vertices": [
      {
        "label": "person",
        "oneToOne": {
          "tableSource": {
            "catalog": "alloydb_data",
            "schema": "modern",
            "table": "person"
          },
          "id": {
            "fields": [
              {
                "type": "String",
                "field": "id",
                "alias": "id"
              }
            ]
          },
          "attributes": [
            {
              "type": "Int",
              "field": "age",
              "alias": "age"
            },
            {
              "type": "String",
              "field": "name",
              "alias": "name"
            }
          ]
        }
      },
      {
        "label": "software",
        "oneToOne": {
          "tableSource": {
            "catalog": "alloydb_data",
            "schema": "modern",
            "table": "software"
          },
          "id": {
            "fields": [
              {
                "type": "String",
                "field": "id",
                "alias": "id"
              }
            ]
          },
          "attributes": [
            {
              "type": "String",
              "field": "lang",
              "alias": "lang"
            },
            {
              "type": "String",
              "field": "name",
              "alias": "name"
            }
          ]
        }
      }
    ],
    "edges": [
      {
        "label": "knows",
        "fromVertex": "person",
        "toVertex": "person",
        "tableSource": {
          "catalog": "alloydb_data",
          "schema": "modern",
          "table": "knows"
        },
        "id": {
          "fields": [
            {
              "type": "String",
              "field": "id",
              "alias": "id"
            }
          ]
        },
        "fromId": {
          "fields": [
            {
              "type": "String",
              "field": "from_id",
              "alias": "from_id"
            }
          ]
        },
        "toId": {
          "fields": [
            {
              "type": "String",
              "field": "to_id",
              "alias": "to_id"
            }
          ]
        },
        "attributes": [
          {
            "type": "Double",
            "field": "weight",
            "alias": "weight"
          }
        ]
      },
      {
        "label": "created",
        "fromVertex": "person",
        "toVertex": "software",
        "tableSource": {
          "catalog": "alloydb_data",
          "schema": "modern",
          "table": "created"
        },
        "id": {
          "fields": [
            {
              "type": "String",
              "field": "id",
              "alias": "id"
            }
          ]
        },
        "fromId": {
          "fields": [
            {
              "type": "String",
              "field": "from_id",
              "alias": "from_id"
            }
          ]
        },
        "toId": {
          "fields": [
            {
              "type": "String",
              "field": "to_id",
              "alias": "to_id"
            }
          ]
        },
        "attributes": [
          {
            "type": "Double",
            "field": "weight",
            "alias": "weight"
          }
        ]
      }
    ]
  }
}
curl -XPOST -H "content-type: application/json" --data-binary @./schema.json --user "puppygraph:puppygraph123" localhost:8081/schema
The response shows that graph schema has been uploaded successfully:
Querying the Graph
In this tutorial we will use the Gremlin query language to query the Graph. Gremlin is a graph query language developed by Apache TinkerPop. Prior knowledge of Gremlin is not necessary to follow the tutorial. To learn more about it, visit https://tinkerpop.apache.org/gremlin.html.

Query panel the left side. The Gremlin Query tab offers an interactive environment for querying the graph using Gremlin.
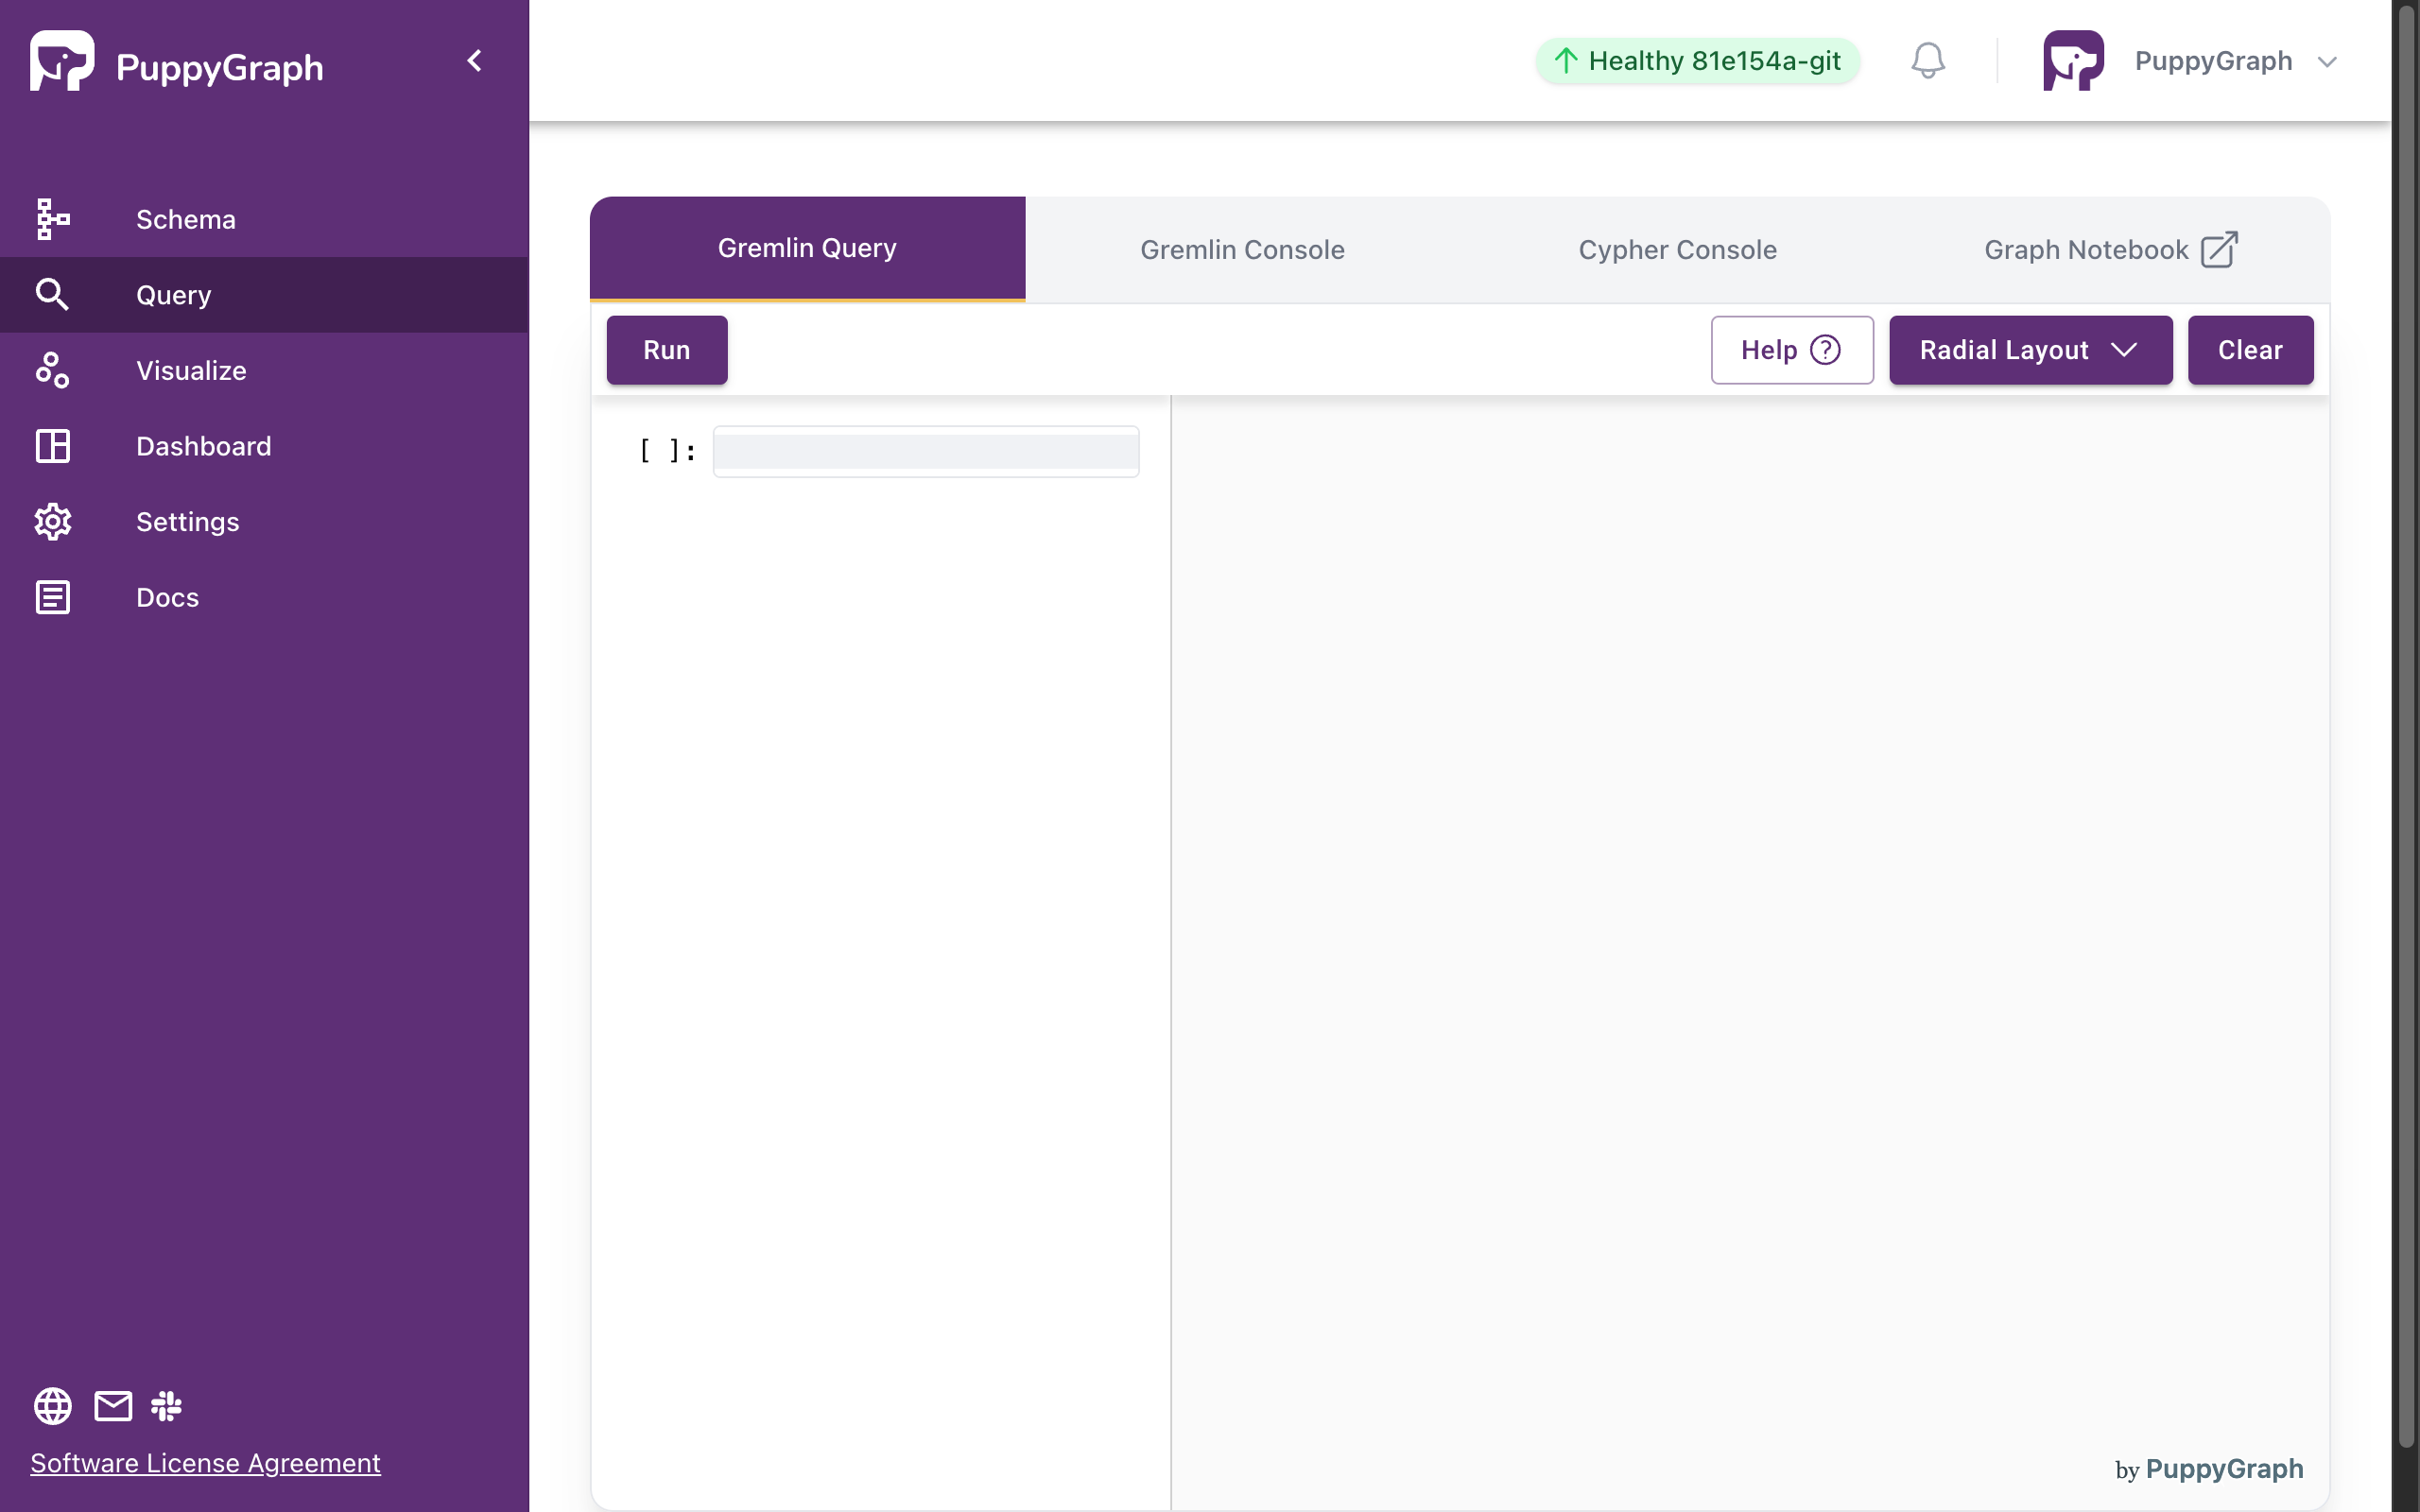
Interactive Gremlin Query Page
Queries are entered on the left side, and the right side displays the graph visualization.
The first query retrieves the property of the person named "marko".

The output is plain text like the following:
Now let's also leverage the visualization. The next query gets all the software created by people known to "marko".

The output is as follows. There are two paths in the result as "marko" knows "josh" who created "lop" and "ripple".
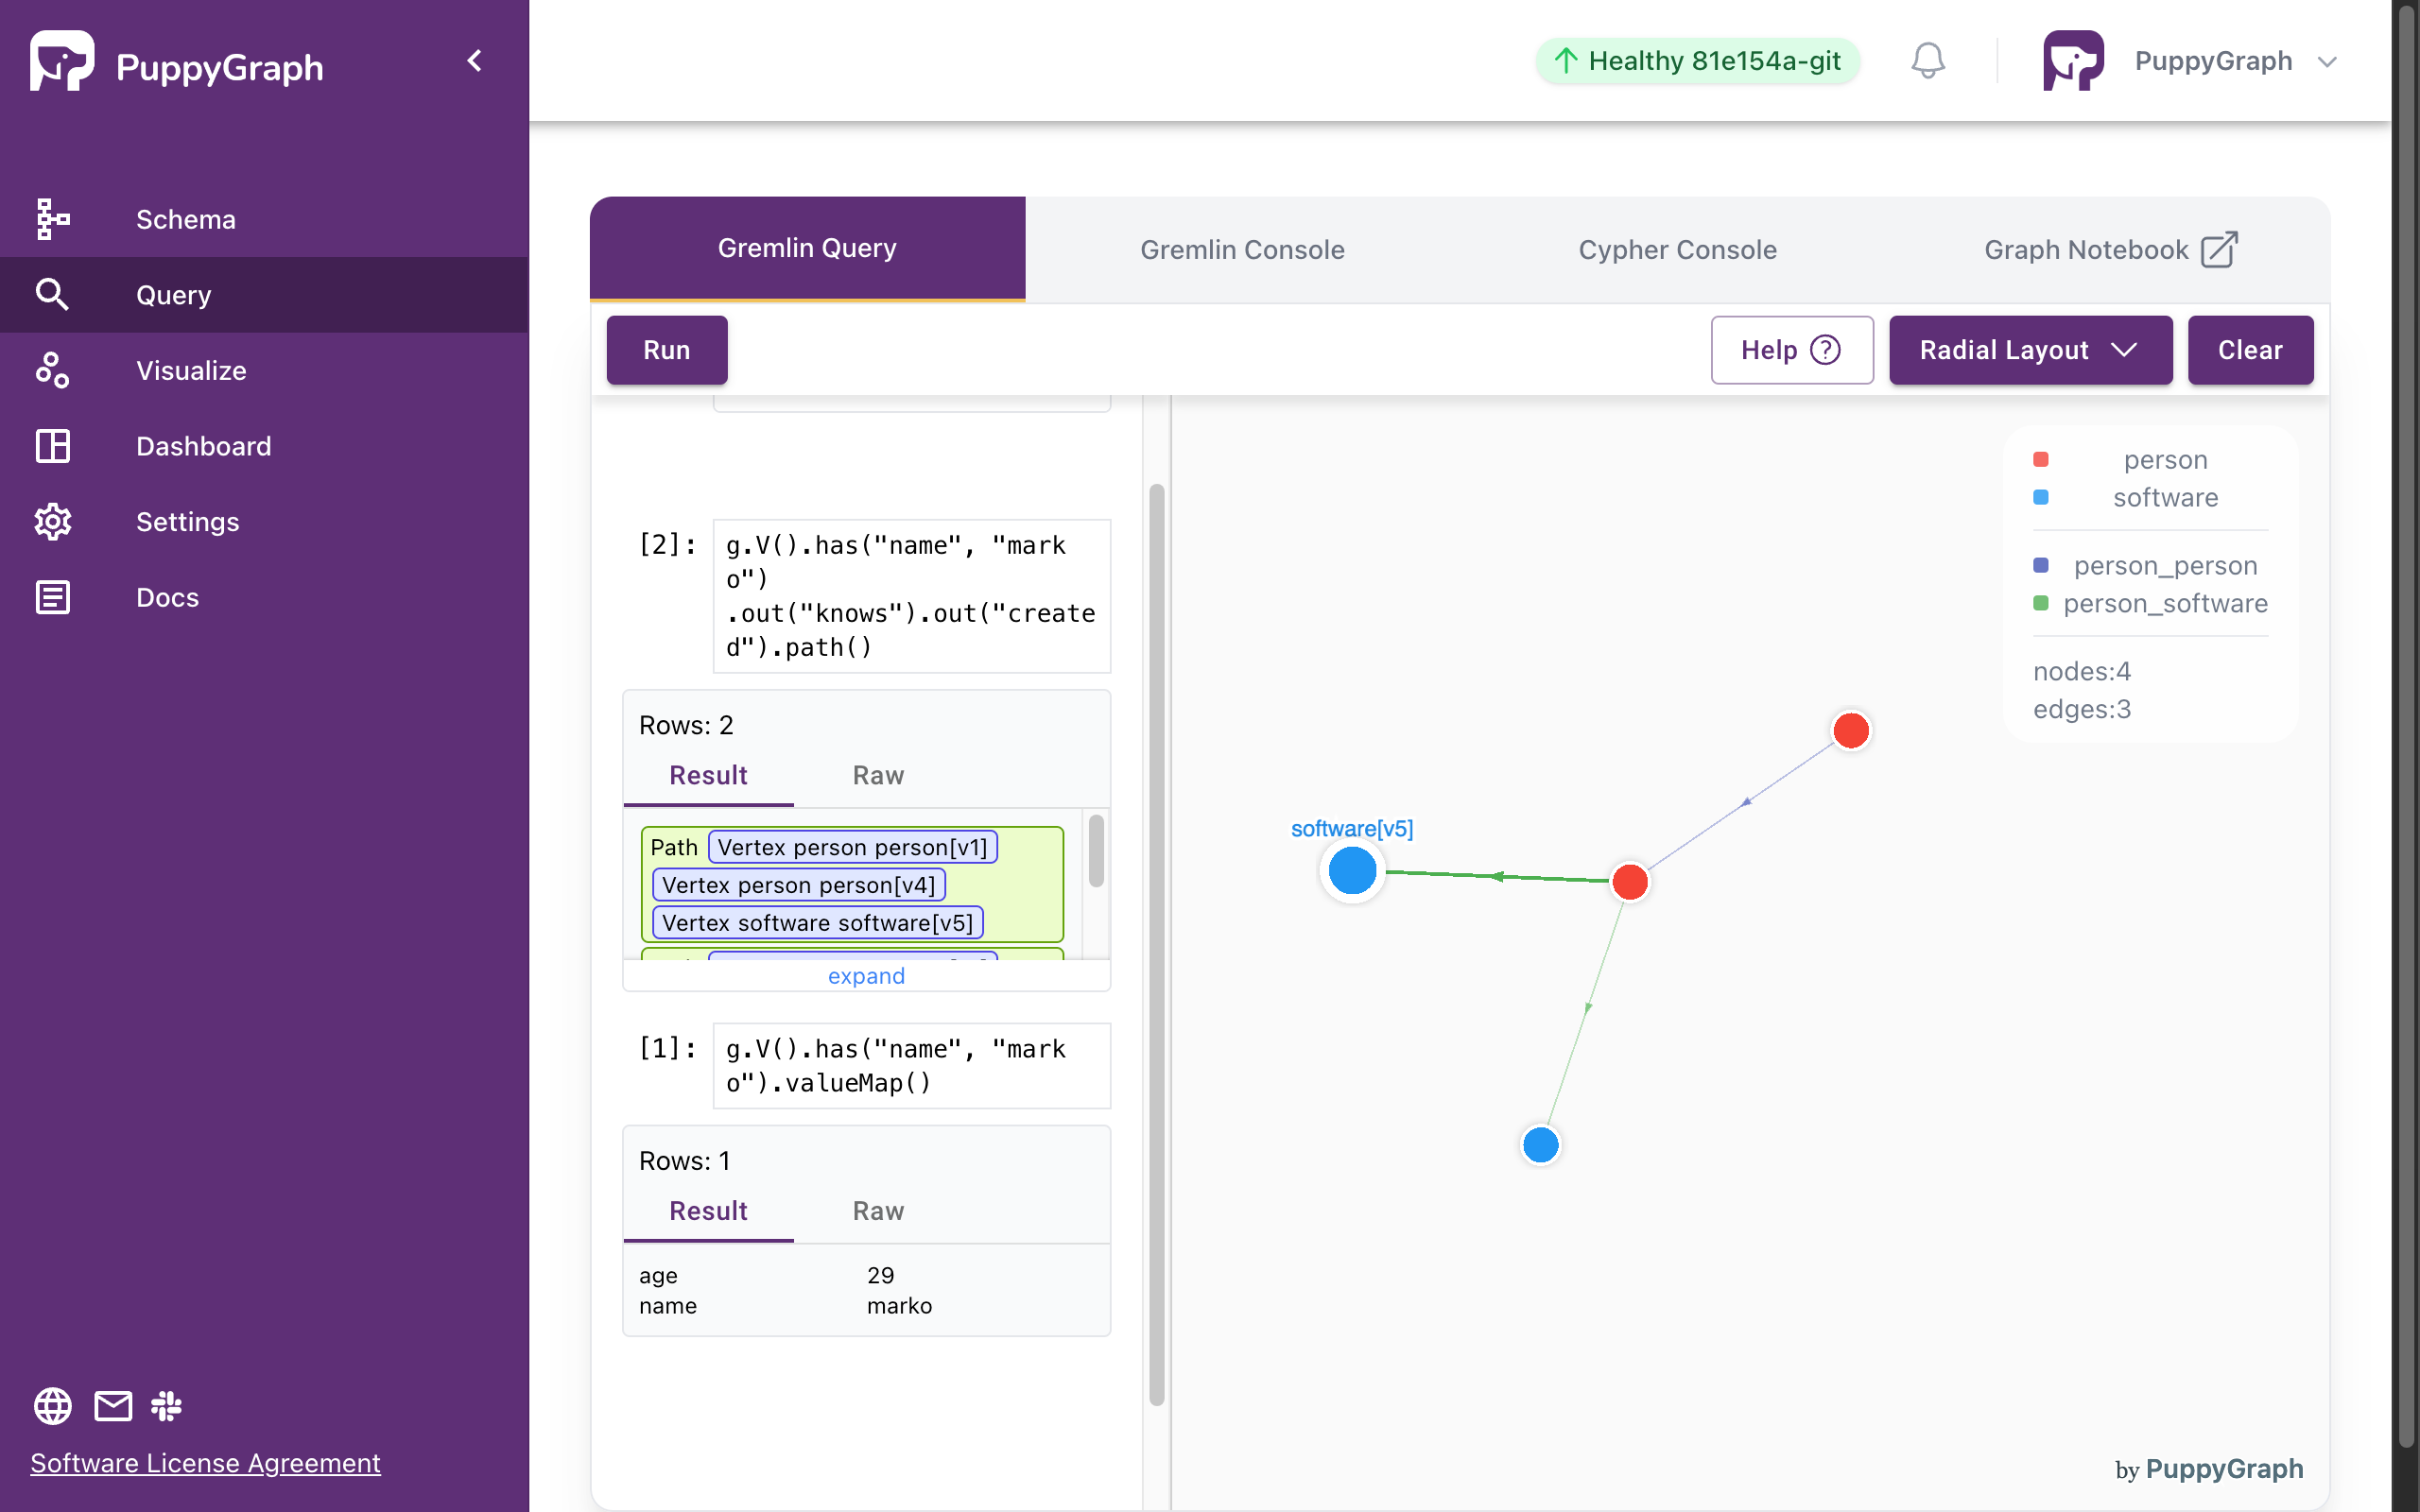
Interactive Query with Results
Alternative: Querying the graph via CLI
Alternatively, we can query the graph via CLI.

The welcome screen appears as follows:
  ____                                     ____                          _
 |  _ \   _   _   _ __    _ __    _   _   / ___|  _ __    __ _   _ __   | |__
 | |_) | | | | | | '_ \  | '_ \  | | | | | |  _  | '__|  / _` | | '_ \  | '_ \
 |  __/  | |_| | | |_) | | |_) | | |_| | | |_| | | |    | (_| | | |_) | | | | |
 |_|      \__,_| | .__/  | .__/   \__, |  \____| |_|     \__,_| | .__/  |_| |_|
                 |_|     |_|      |___/                         |_|
Welcome to PuppyGraph!
version: 0.26

To Learn more about the graph schema:
- Use graph.show() to list all the node (vertex) and edge labels.
- Use graph.show('$FOO') to list all the node (vertex) and edge labels related to $FOO.
- Use graph.describe('$BAR') to list all the attributes of the label $BAR.

See https://tinkerpop.apache.org/gremlin.html to learn more about the Gremlin query language.
Here are some example queries for exploring the graph:
- Use g.V() to list all the nodes (vertices).
- Use g.E() to list all the edges.
- Use g.V().count() to get the total number of nodes (vertices).
- Use g.E().count() to get the total number of edges.
- Use g.V('$ID').out() to find out nodes (vertices) that are reachable in 1-hop from the node (vertex) $ID. For example, g.V('person[v1]').out() will find out 1-hop reachable nodes (vertices) from 'person[v1]'.
- Use g.V('$ID').out().out() similarly to find out 2-hop reachable nodes (vertices) from the node (vertex) $ID.

puppy-gremlin>

Properties of the person named "marko":

Cleaning up
