Modeling a Graph through the Schema Builder
Summary
In this tutorial, you will:
- Start the PuppyGraph and PostgreSQL containers and create example data.
- Connect a PostgreSQL catalog through the Schema Builder.
- Add
softwareandpersonnodes from PostgreSQL tables. - Add
createdandknowsedges to compose a small Modern Graph.
This tutorial is the visual walkthrough of every dialog and field. For the underlying reference on how tables map to nodes and edges, see Building a Graph. To have PuppyGraph propose the graph for you instead of building it by hand, see Building a Graph with PuppyGraph AI.
Prerequisites
Please ensure that docker compose is available. The installation can be verified by running:
See https://docs.docker.com/compose/install/ for Docker Compose installation instructions and https://www.docker.com/get-started/ for more details on Docker.
Setup
Deployment
Create a file docker-compose.yaml with the following content:
docker-compose.yaml
version: "3"
services:
  puppygraph:
    image: puppygraph/puppygraph:latest
    pull_policy: always
    container_name: puppygraph
    environment:
      - PUPPYGRAPH_USERNAME=puppygraph
      - PUPPYGRAPH_PASSWORD=puppygraph123
    networks:
      - pg_net
    ports:
      - "8081:8081"
      - "8182:8182"
      - "7687:7687"
  postgres:
    image: postgres:16
    container_name: postgres-server
    environment:
      - POSTGRES_PASSWORD=postgres123
    networks:
      - pg_net
    ports:
      - "5432:5432"
networks:
  pg_net:
    name: puppy-pg
Warning
Change the password environment variables before running on a publicly accessible machine.
Start the stack:
[+] Running 3/3
 ✔ Network puppy-pg          Created                                      0.1s
 ✔ Container postgres-server Started                                      3.7s
 ✔ Container puppygraph      Started                                      3.7s
Data Preparation
This tutorial includes its own data setup so it's standalone. In real deployments, PuppyGraph queries your existing PostgreSQL databases directly.
Open a psql shell as postgres:
Then run the SQL below to create the schema and insert data:
modern.sql
create schema modern;

create table modern.software (
    id   text,
    name text,
    lang text
);
insert into modern.software values ('v3', 'lop', 'java'), ('v5', 'ripple', 'java');

create table modern.person (
    id   text,
    name text,
    age  integer
);
insert into modern.person values
  ('v1', 'marko', 29),
  ('v2', 'vadas', 27),
  ('v4', 'josh',  32),
  ('v6', 'peter', 35);

create table modern.created (
    id        text,
    from_id   text,
    to_id     text,
    weight    double precision
);
insert into modern.created values
  ('e9',  'v1', 'v3', 0.4),
  ('e10', 'v4', 'v5', 1.0),
  ('e11', 'v4', 'v3', 0.4),
  ('e12', 'v6', 'v3', 0.2);

create table modern.knows (
    id        text,
    from_id   text,
    to_id     text,
    weight    double precision
);
insert into modern.knows values
  ('e7', 'v1', 'v2', 0.5),
  ('e8', 'v1', 'v4', 1.0);
The above creates four PostgreSQL tables that we'll model as a graph: person and software become node types, knows and created become edge types.
| Table | Rows |
|---|---|
software |
2 |
person |
4 |
created |
4 |
knows |
2 |
Graph Schema Creation
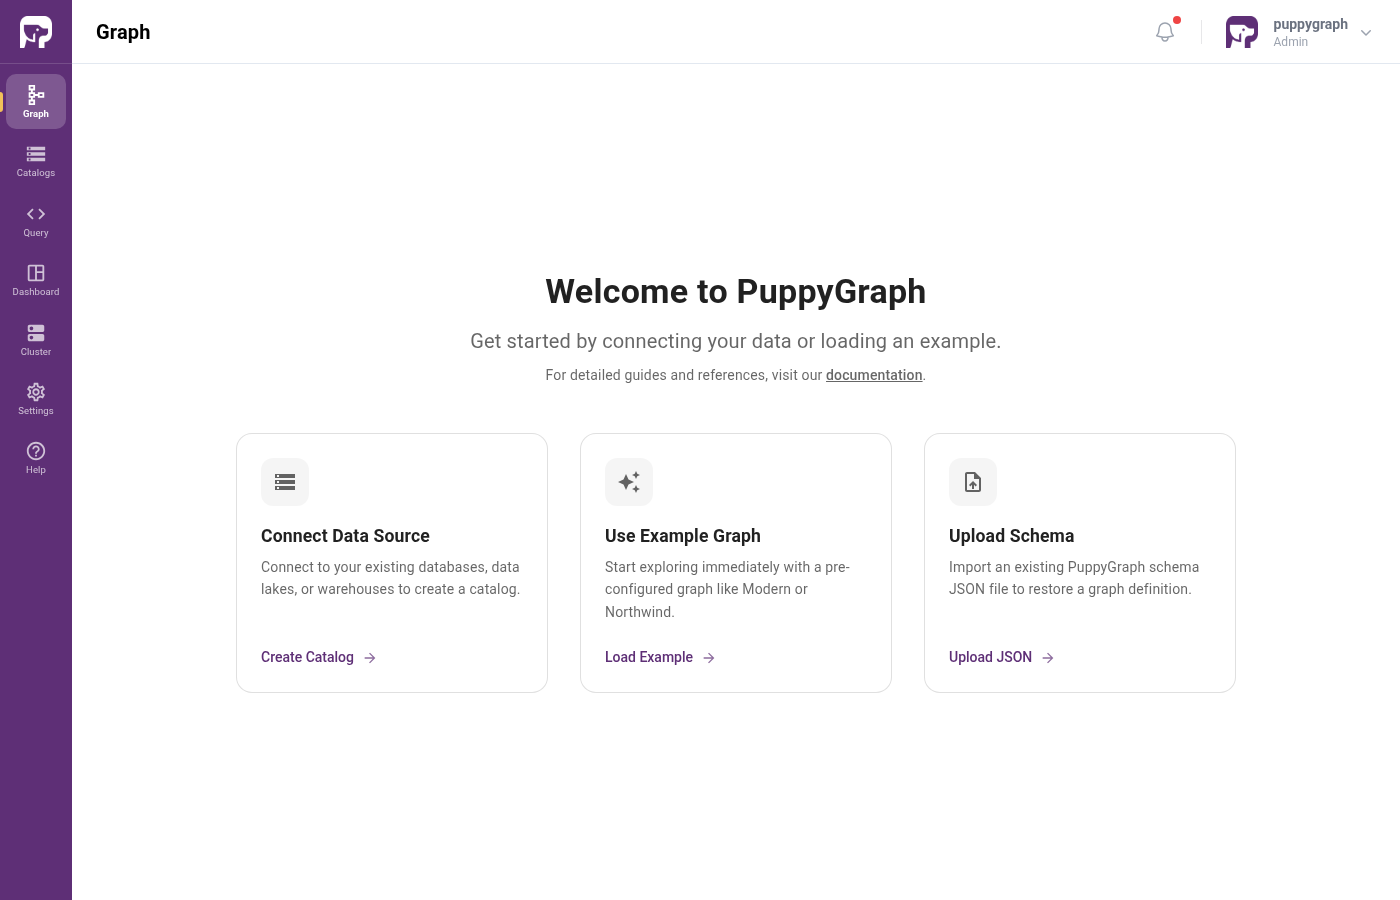
Open the PuppyGraph Web UI at http://localhost:8081 and sign in with the username (puppygraph) and password (puppygraph123) configured above.
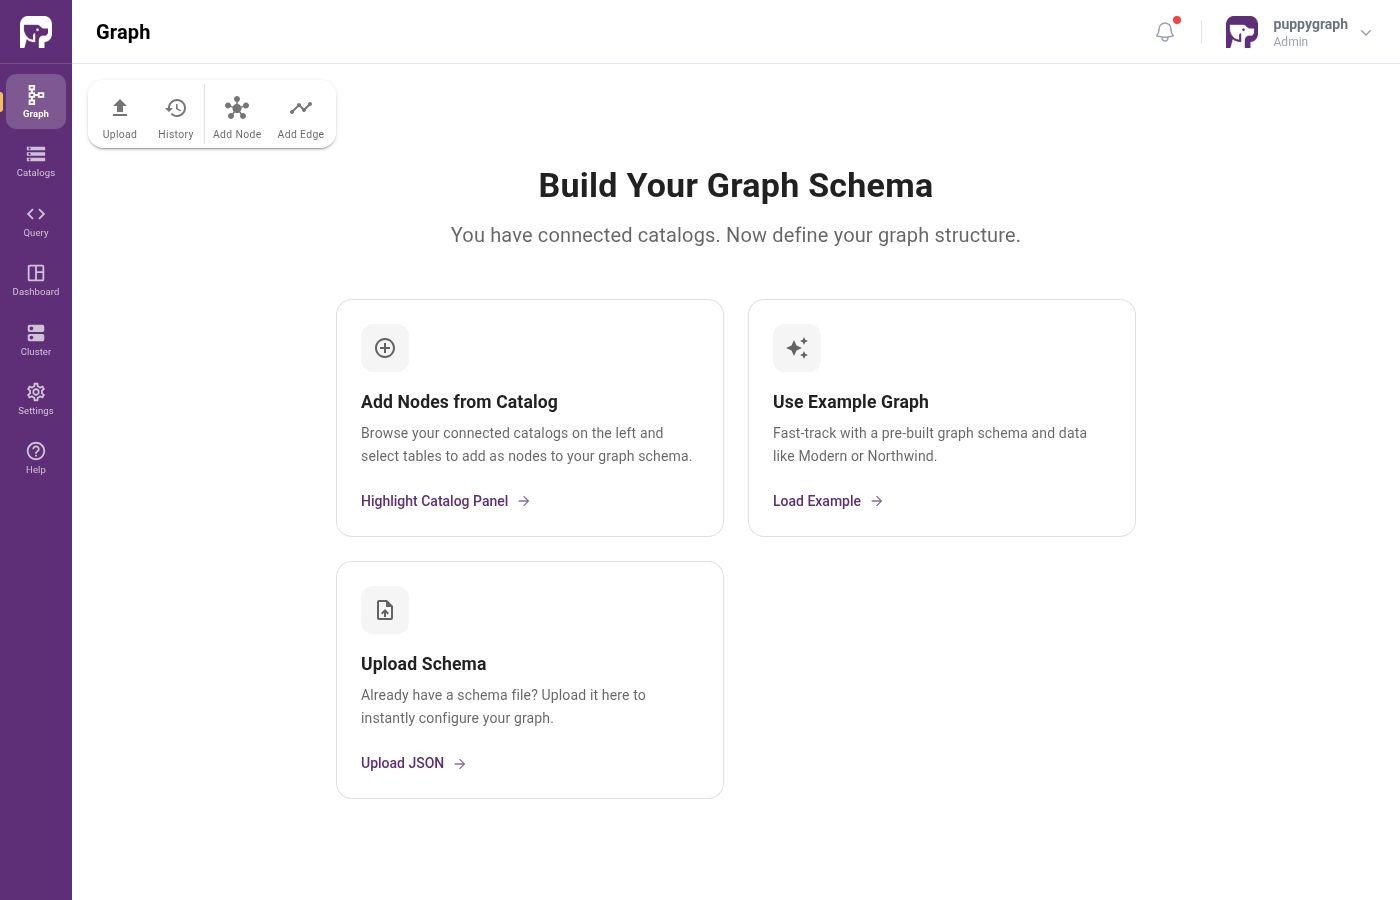
The Graph page shows a welcome screen with three quick-start options.
Adding a catalog
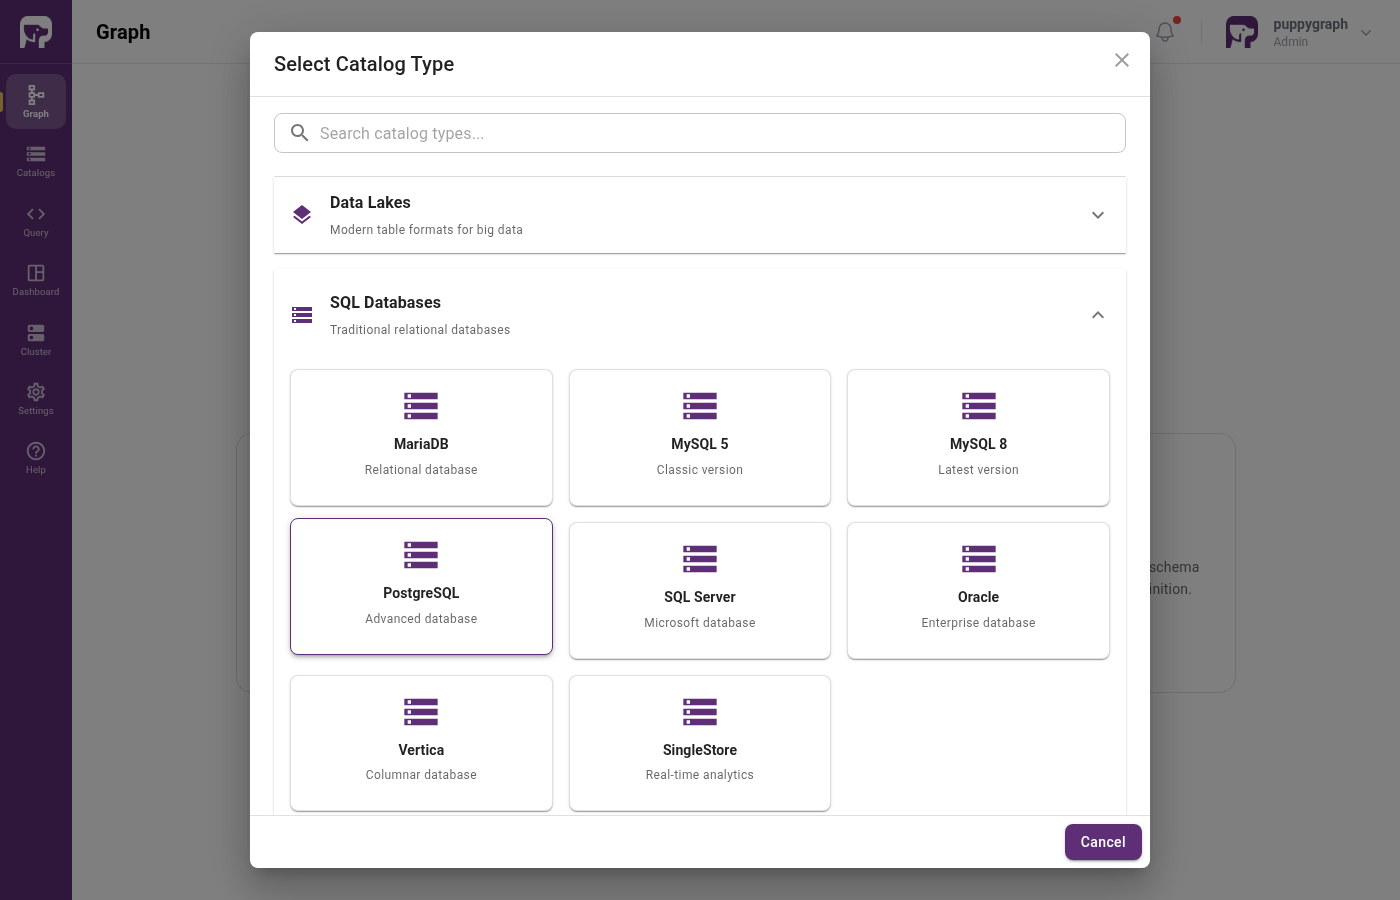
Click Create Catalog. The Schema Builder shows a category picker. Expand SQL Databases and select PostgreSQL.
Fill in the connection form:
| Field | Value |
|---|---|
| Catalog name | postgres_data |
| Username | postgres |
| Password | postgres123 |
| JDBC Connection String | jdbc:postgresql://postgres-server:5432/postgres |
Leave User Specified Driver unchecked unless you need a custom driver.
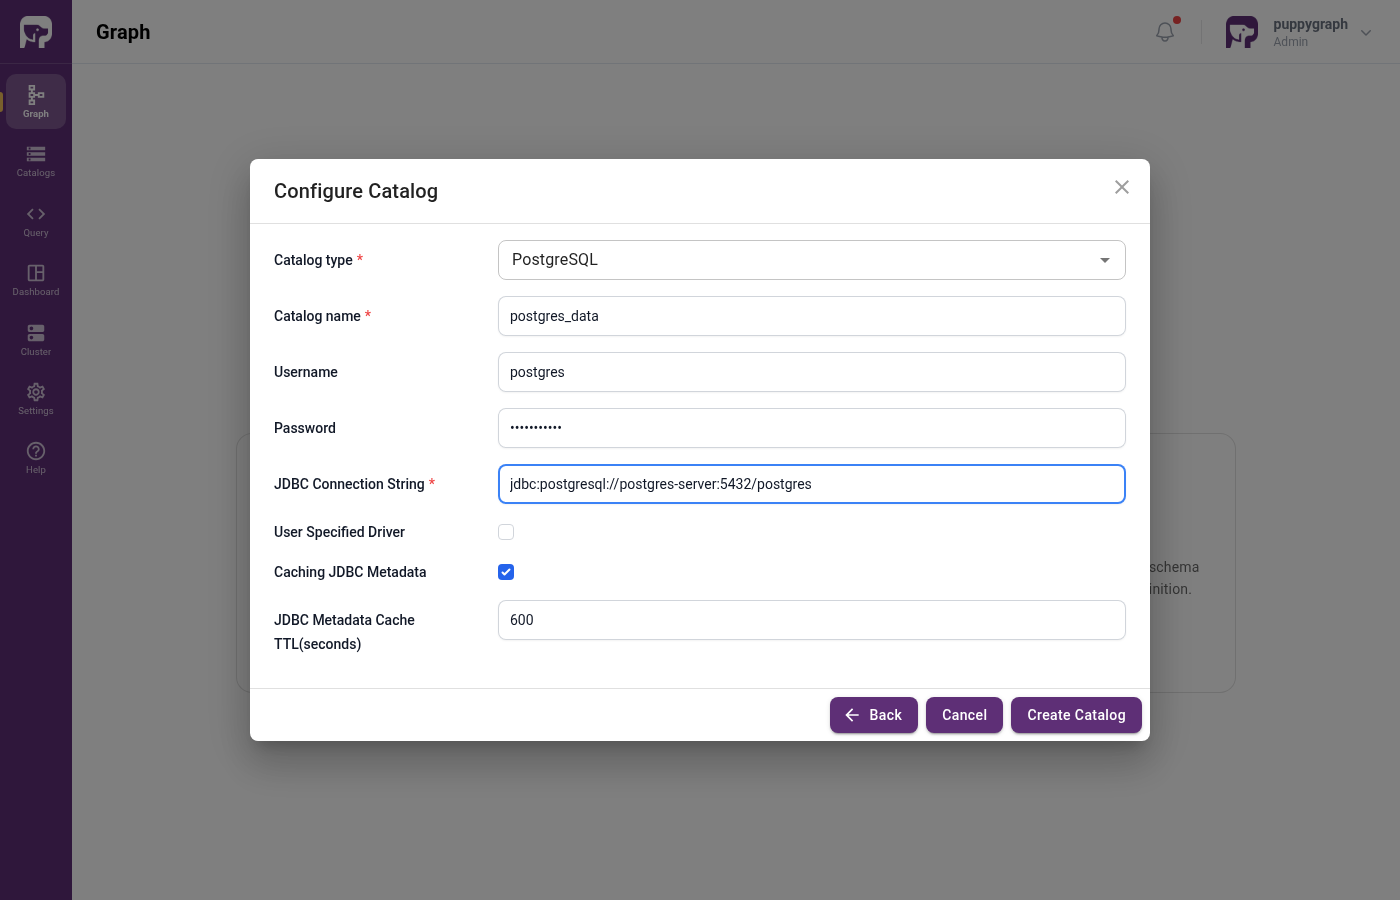
Click Create Catalog to save the catalog. The page now shows three options for building the graph: add nodes from the connected catalog, load a pre-built example, or upload a schema JSON.
Adding the software node
Click Add Node in the toolbar. The Select Table for Node dialog opens. Expand postgres_data then modern to see the source tables. Pick software and click Next.
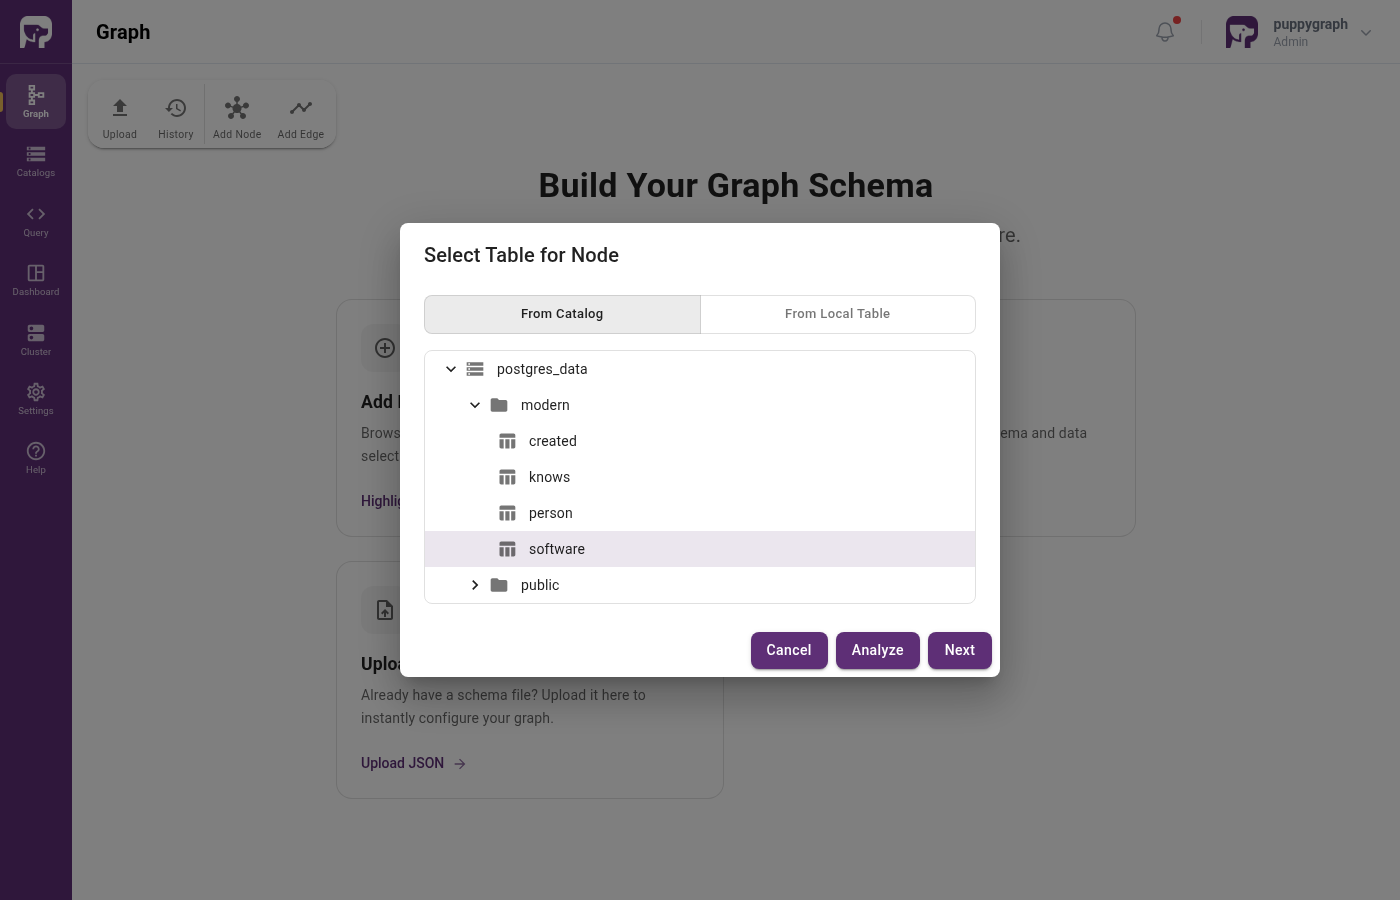
software tableThe Add Node wizard opens with all three columns (id, name, lang) listed under Attribute Columns.
To make id the node identifier, click Add to ID next to the empty ID Columns section and pick id from the dropdown. The wizard moves it into ID Columns, leaving name and lang as attributes.
The Node Label defaults to the table name (software). You can edit it or add Cypher type aliases here.
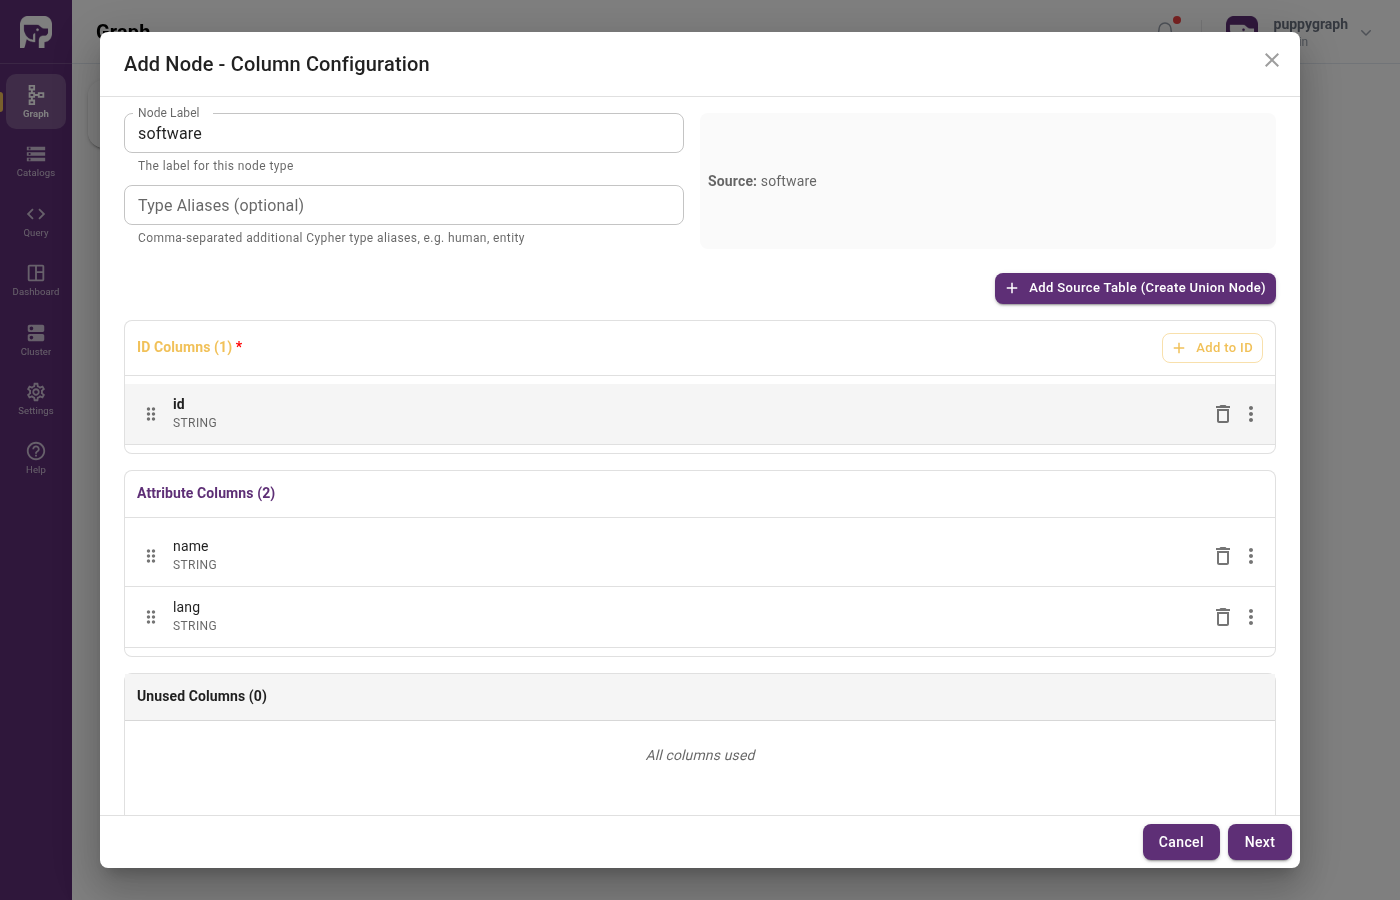
software, with id assigned to ID ColumnsClick Next to advance to the Local Replication step. For this tutorial, leave Enable Local Replication unchecked so PuppyGraph reads directly from PostgreSQL at query time.
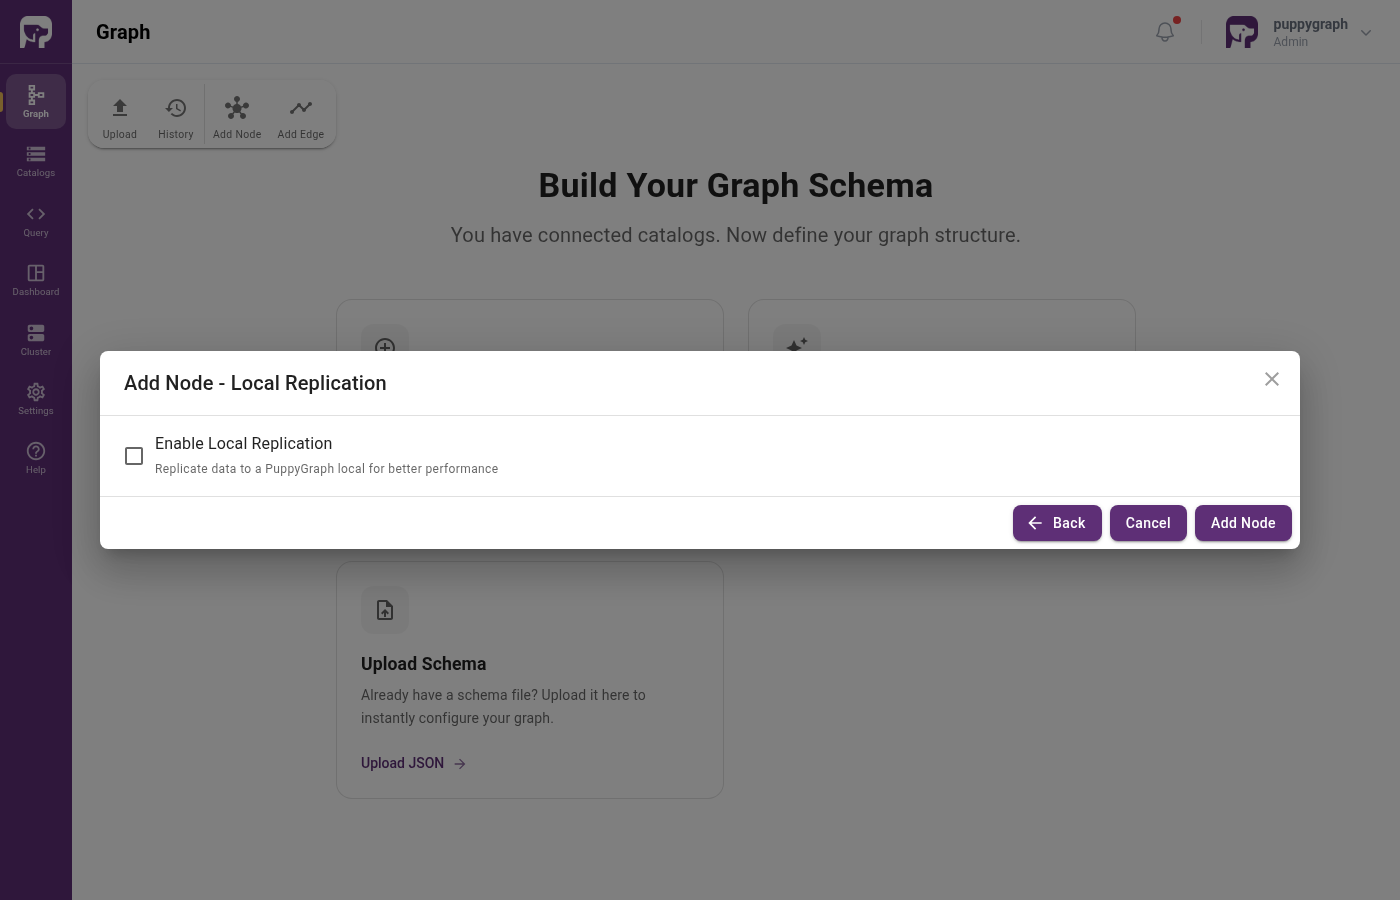
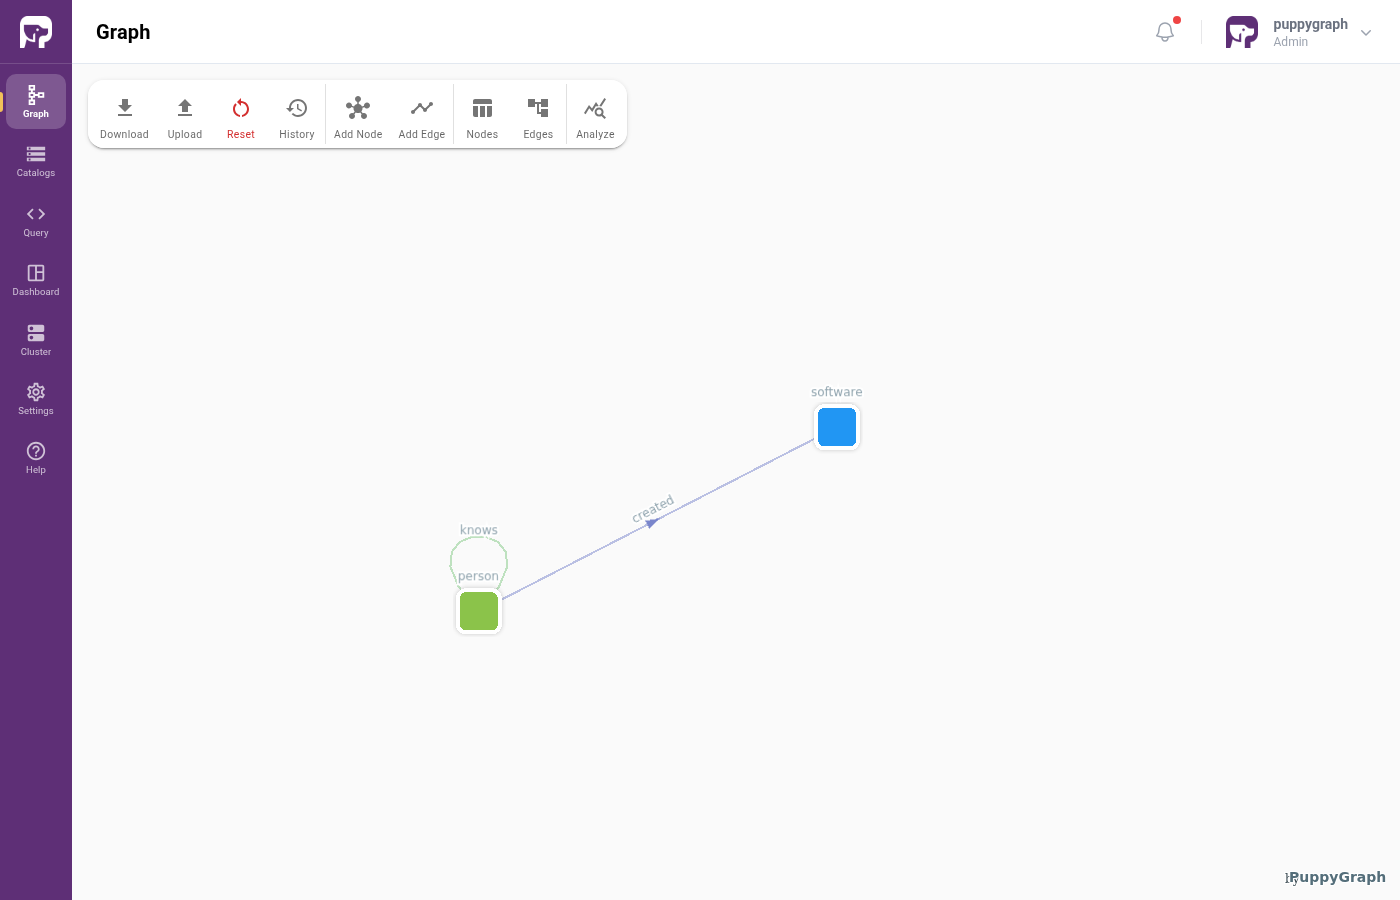
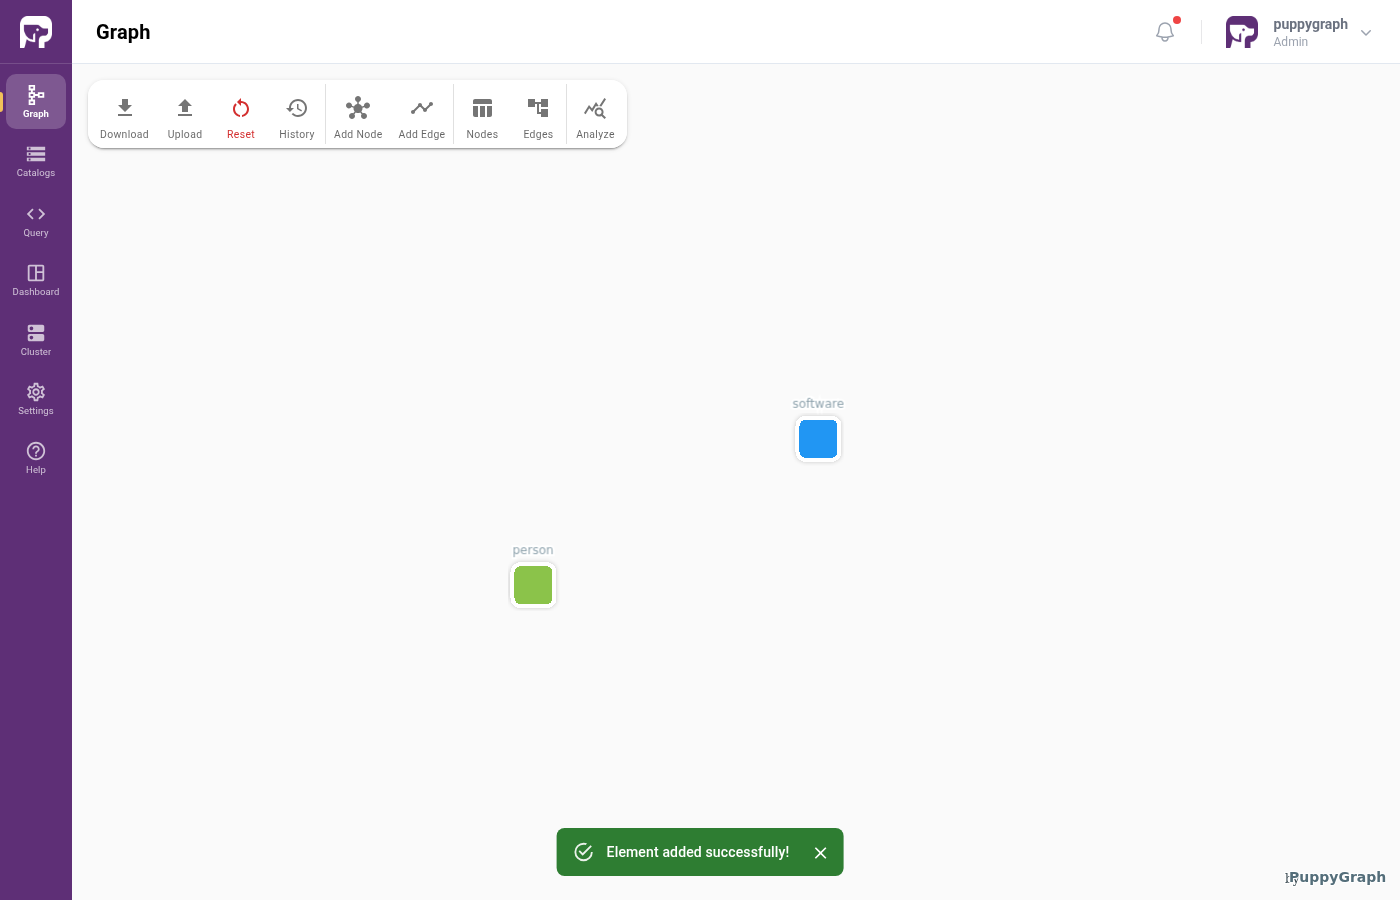
Click Add Node to finish. The schema canvas now shows the software node.
Adding the person node
Open the Add Node wizard again from the toolbar, expand the catalog tree, and pick person.
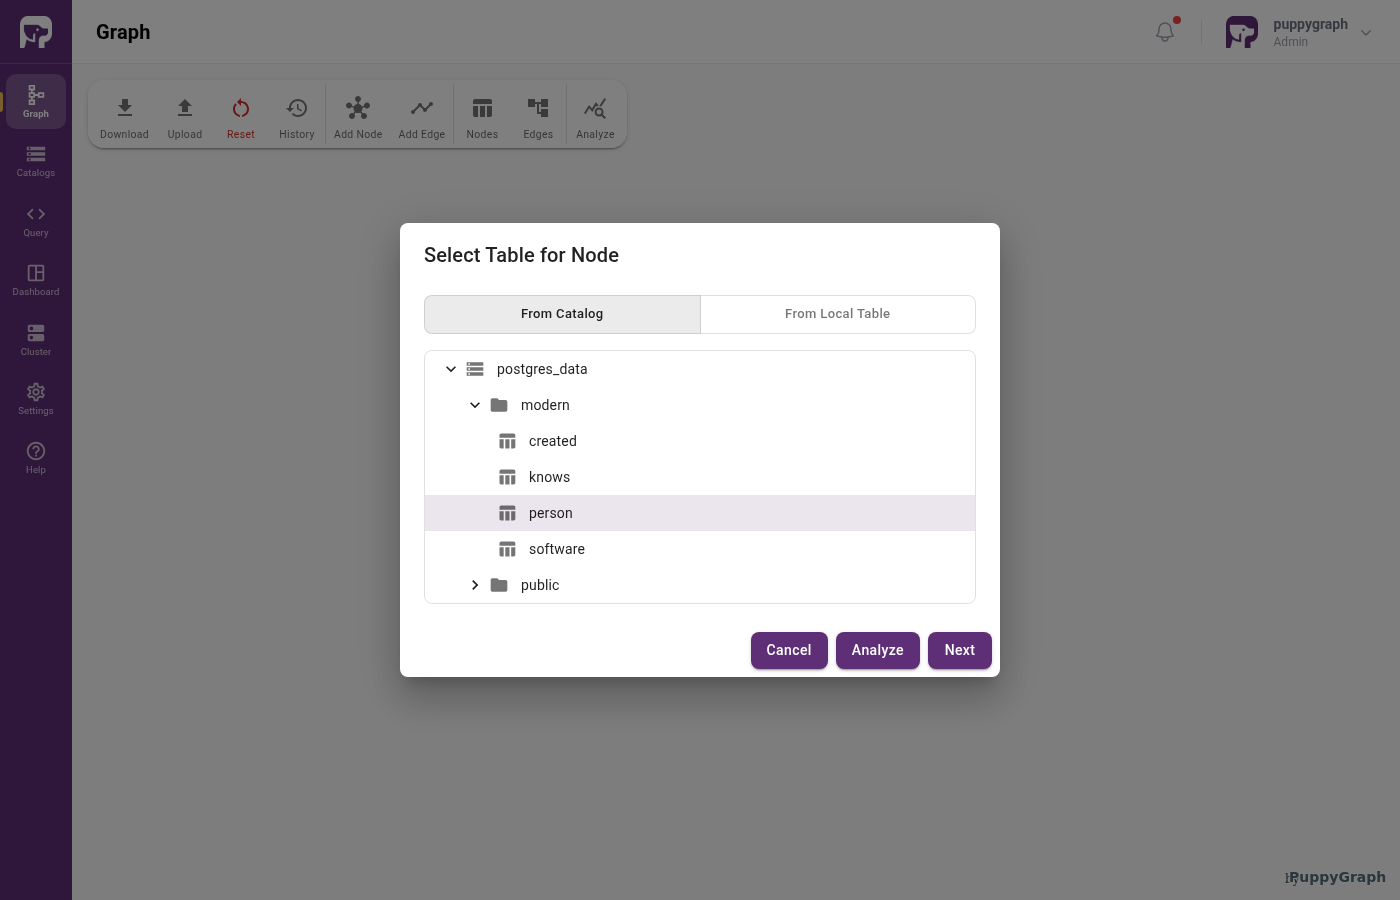
person tableClick Next. The Add Node wizard shows id, name, and age. As with software, click Add to ID and pick id to make it the identifier; name and age stay under Attribute Columns.
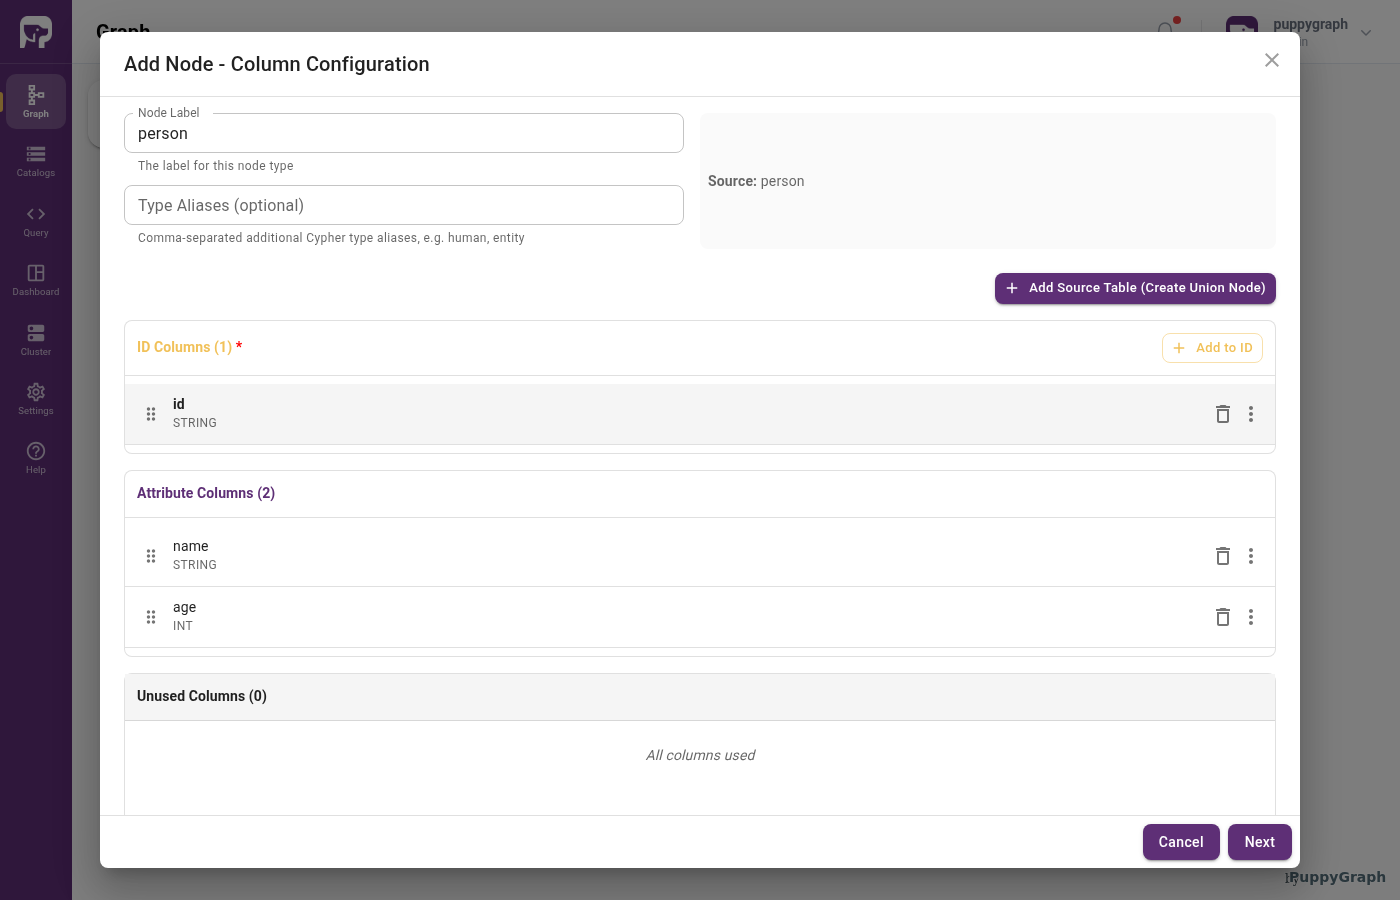
person, with id assigned to ID ColumnsAdvance through Local Replication (leave it unchecked) and click Add Node. The canvas now has both nodes.
Adding the created edge
Click Add Edge in the toolbar and pick created from the catalog tree. After clicking Next, the edge wizard adds three things to the node wizard:
- From Node and To Node dropdowns at the top.
- A FROM: section that maps a source column to the From Node's identifier.
- A TO: section that does the same for the To Node.
Set From Node to person and To Node to software. Each side now shows the target's identifier (id (STRING)) with a Select Column dropdown for the matching source column. Pick from_id under FROM and to_id under TO.
To set an edge identifier, click Add to ID and pick id. The remaining weight column stays under Attribute Columns and becomes a property on the edge.
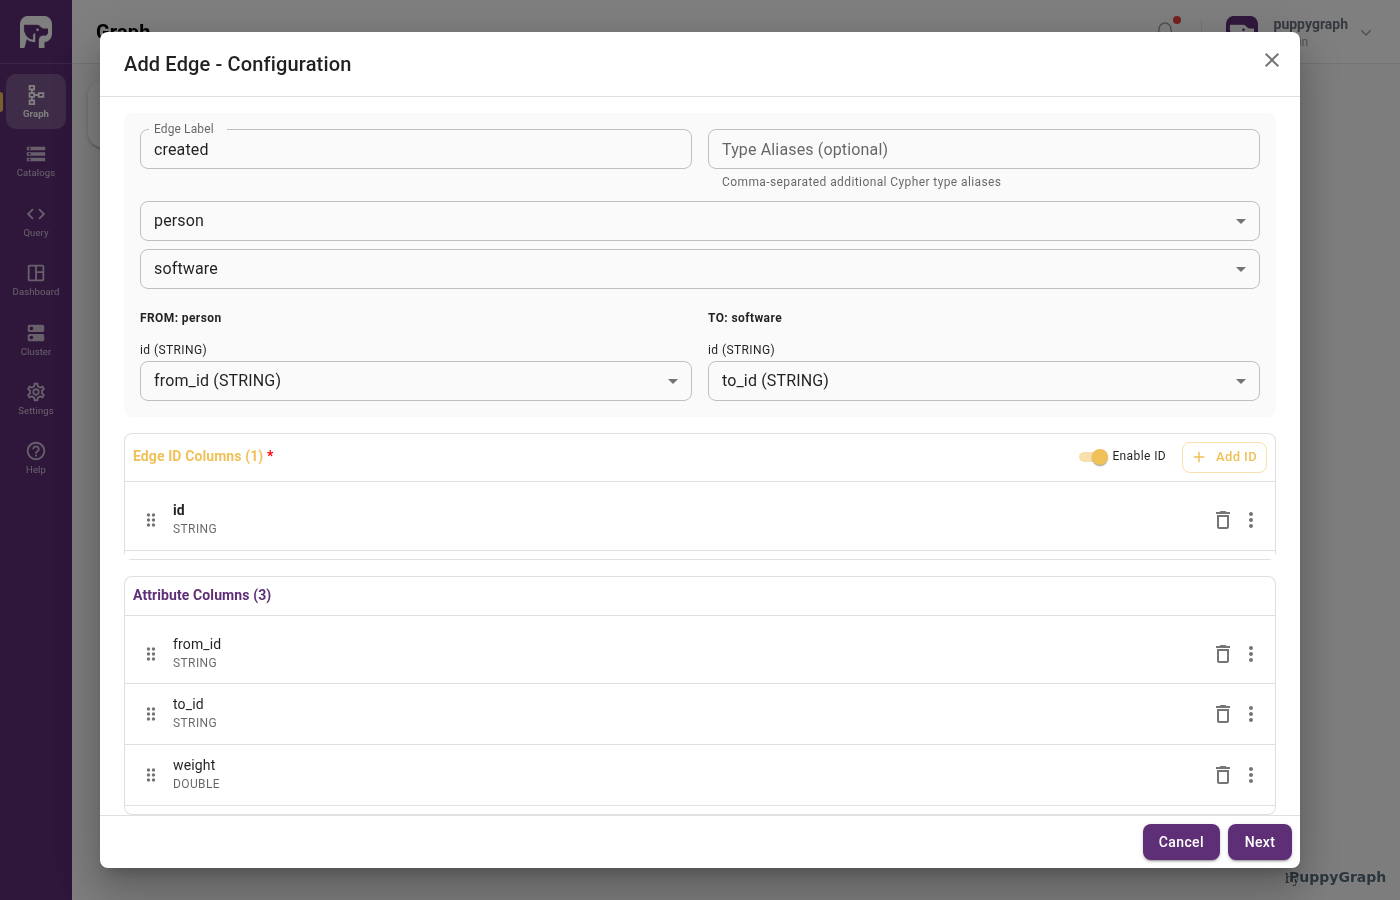
createdClick Next, leave Local Replication off, then Add Edge to finish. The new edge appears between person and software on the canvas.
Adding the knows edge
knows connects two person rows, so both endpoints map to the same node type. Click Add Edge again and pick knows. After Next, set both From Node and To Node to person. Map from_id under FROM and to_id under TO, then click Add to ID and pick id for the edge identifier.
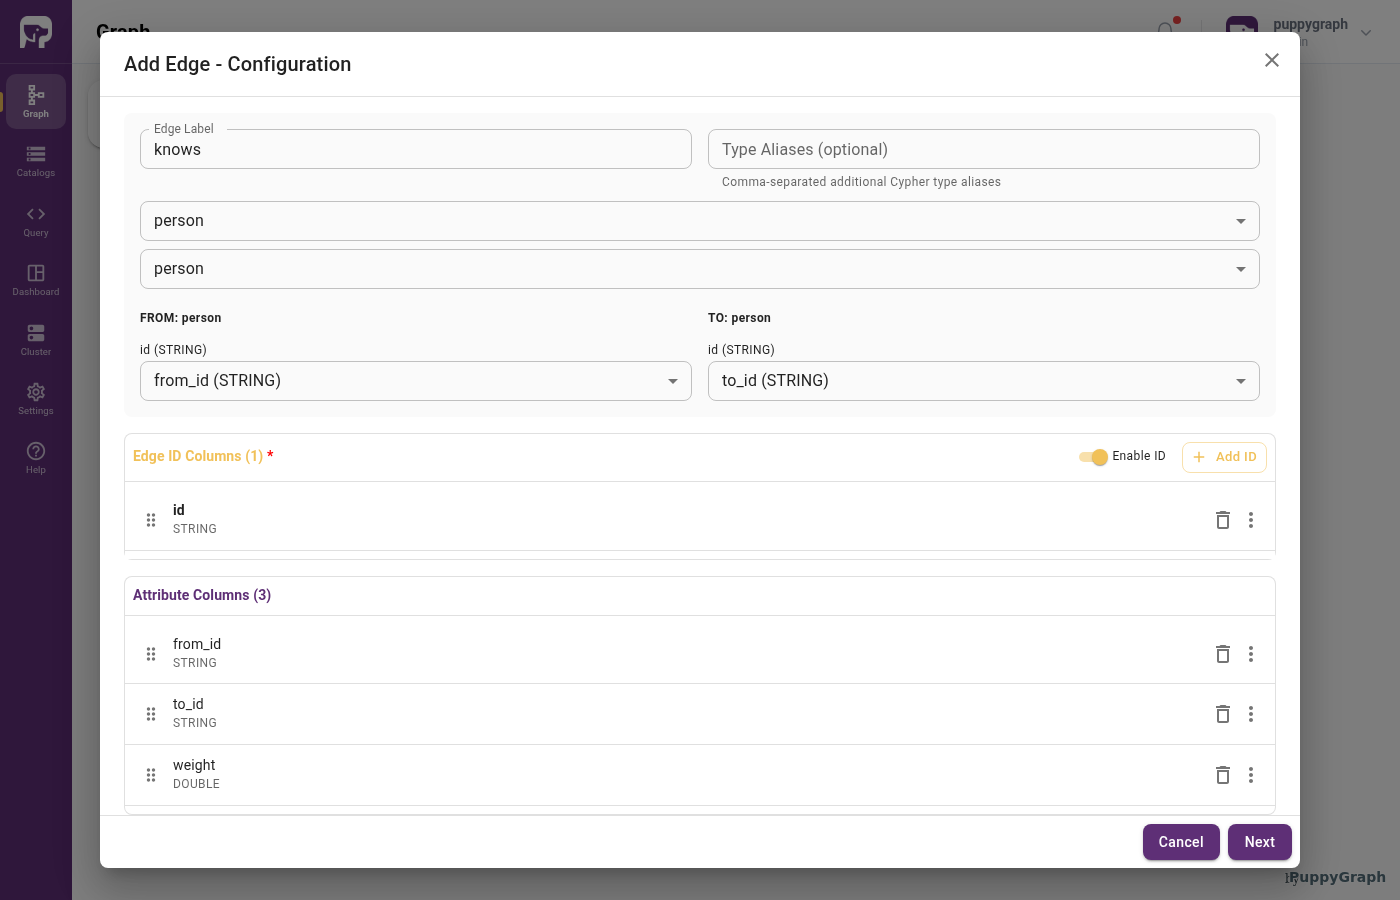
knows (person → person)For reference, the two edges are configured as follows:
| Setting | created |
knows |
|---|---|---|
| Edge Label | created |
knows |
| From Node | person |
person |
| To Node | software |
person |
| Edge ID | id |
id |
FROM Select Column |
from_id |
from_id |
TO Select Column |
to_id |
to_id |
| Attribute | weight (DOUBLE) |
weight (DOUBLE) |
Click Next, leave Local Replication off, then Add Edge to finish.
Final schema
The completed graph has two nodes and two edges. Changes take effect immediately and are queryable from the Query tab.