Launching PuppyGraph from AWS Marketplace
Summary
In this tutorial, you will:
- Launch a PuppyGraph EC2 instance from AWS Marketplace;
- Explore an example graph using PuppyGraph Web UI.
Prerequisites
An AWS account is needed with proper accesses to subscribe to PuppyGraph and launch an EC2 instance.
Subscribing to PuppyGraph
PuppyGraph Professional is available at the AWS Marketplace. Click View purchase options to subscribe to it.

PuppyGraph Product Overview Page
The AWS Marketplace shows the offer, its pricing and the terms. Click Subscribe to confirm the subscription. The offer includes a free trial, which automatically converts to a paid subscription when it ends.
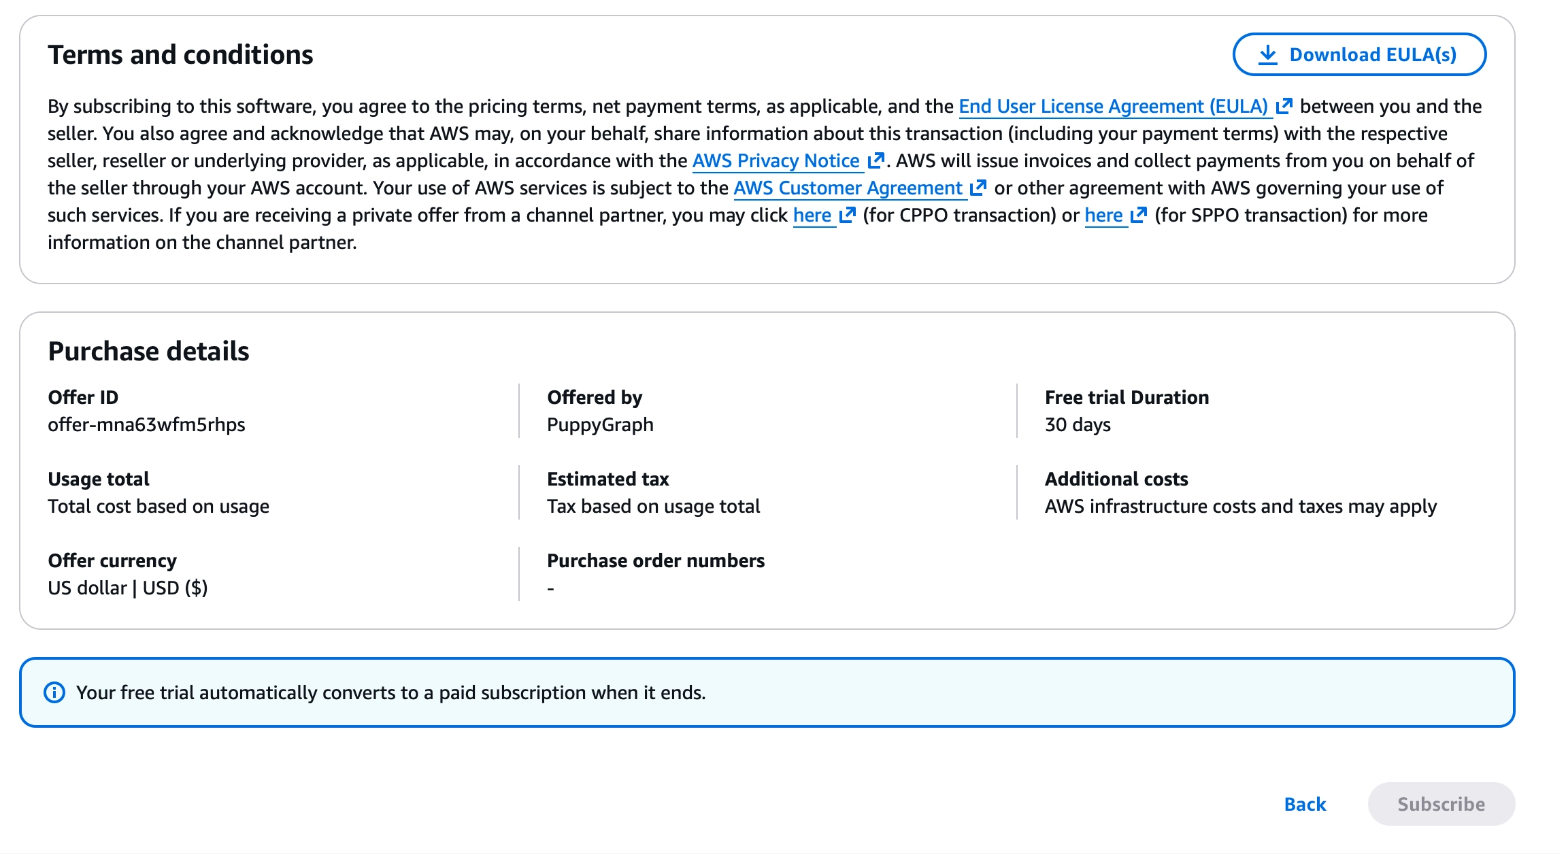
Subscribe to PuppyGraph Professional
Launching a PuppyGraph Instance
Once the subscription is live, you can launch an instance of PuppyGraph from the EC2 console. Click Launch instances. Under Application and OS Images (Amazon Machine Image), search for PuppyGraph Professional, then click Select next to PuppyGraph Professional on the AWS Marketplace AMIs tab.
Choose an instance type, then select a key pair under Key pair (login).
Under Network settings, keep Create security group selected. The security group setting is important for accessing PuppyGraph properly. In this tutorial, a new security group is generated based on seller settings.
The seller-settings-based security group contains 3 ports:
- 8081 for the Web UI
- 8182 for handling Gremlin queries
- 7687 for handling Cypher queries
Then click Launch instance to launch a new PuppyGraph instance on EC2.
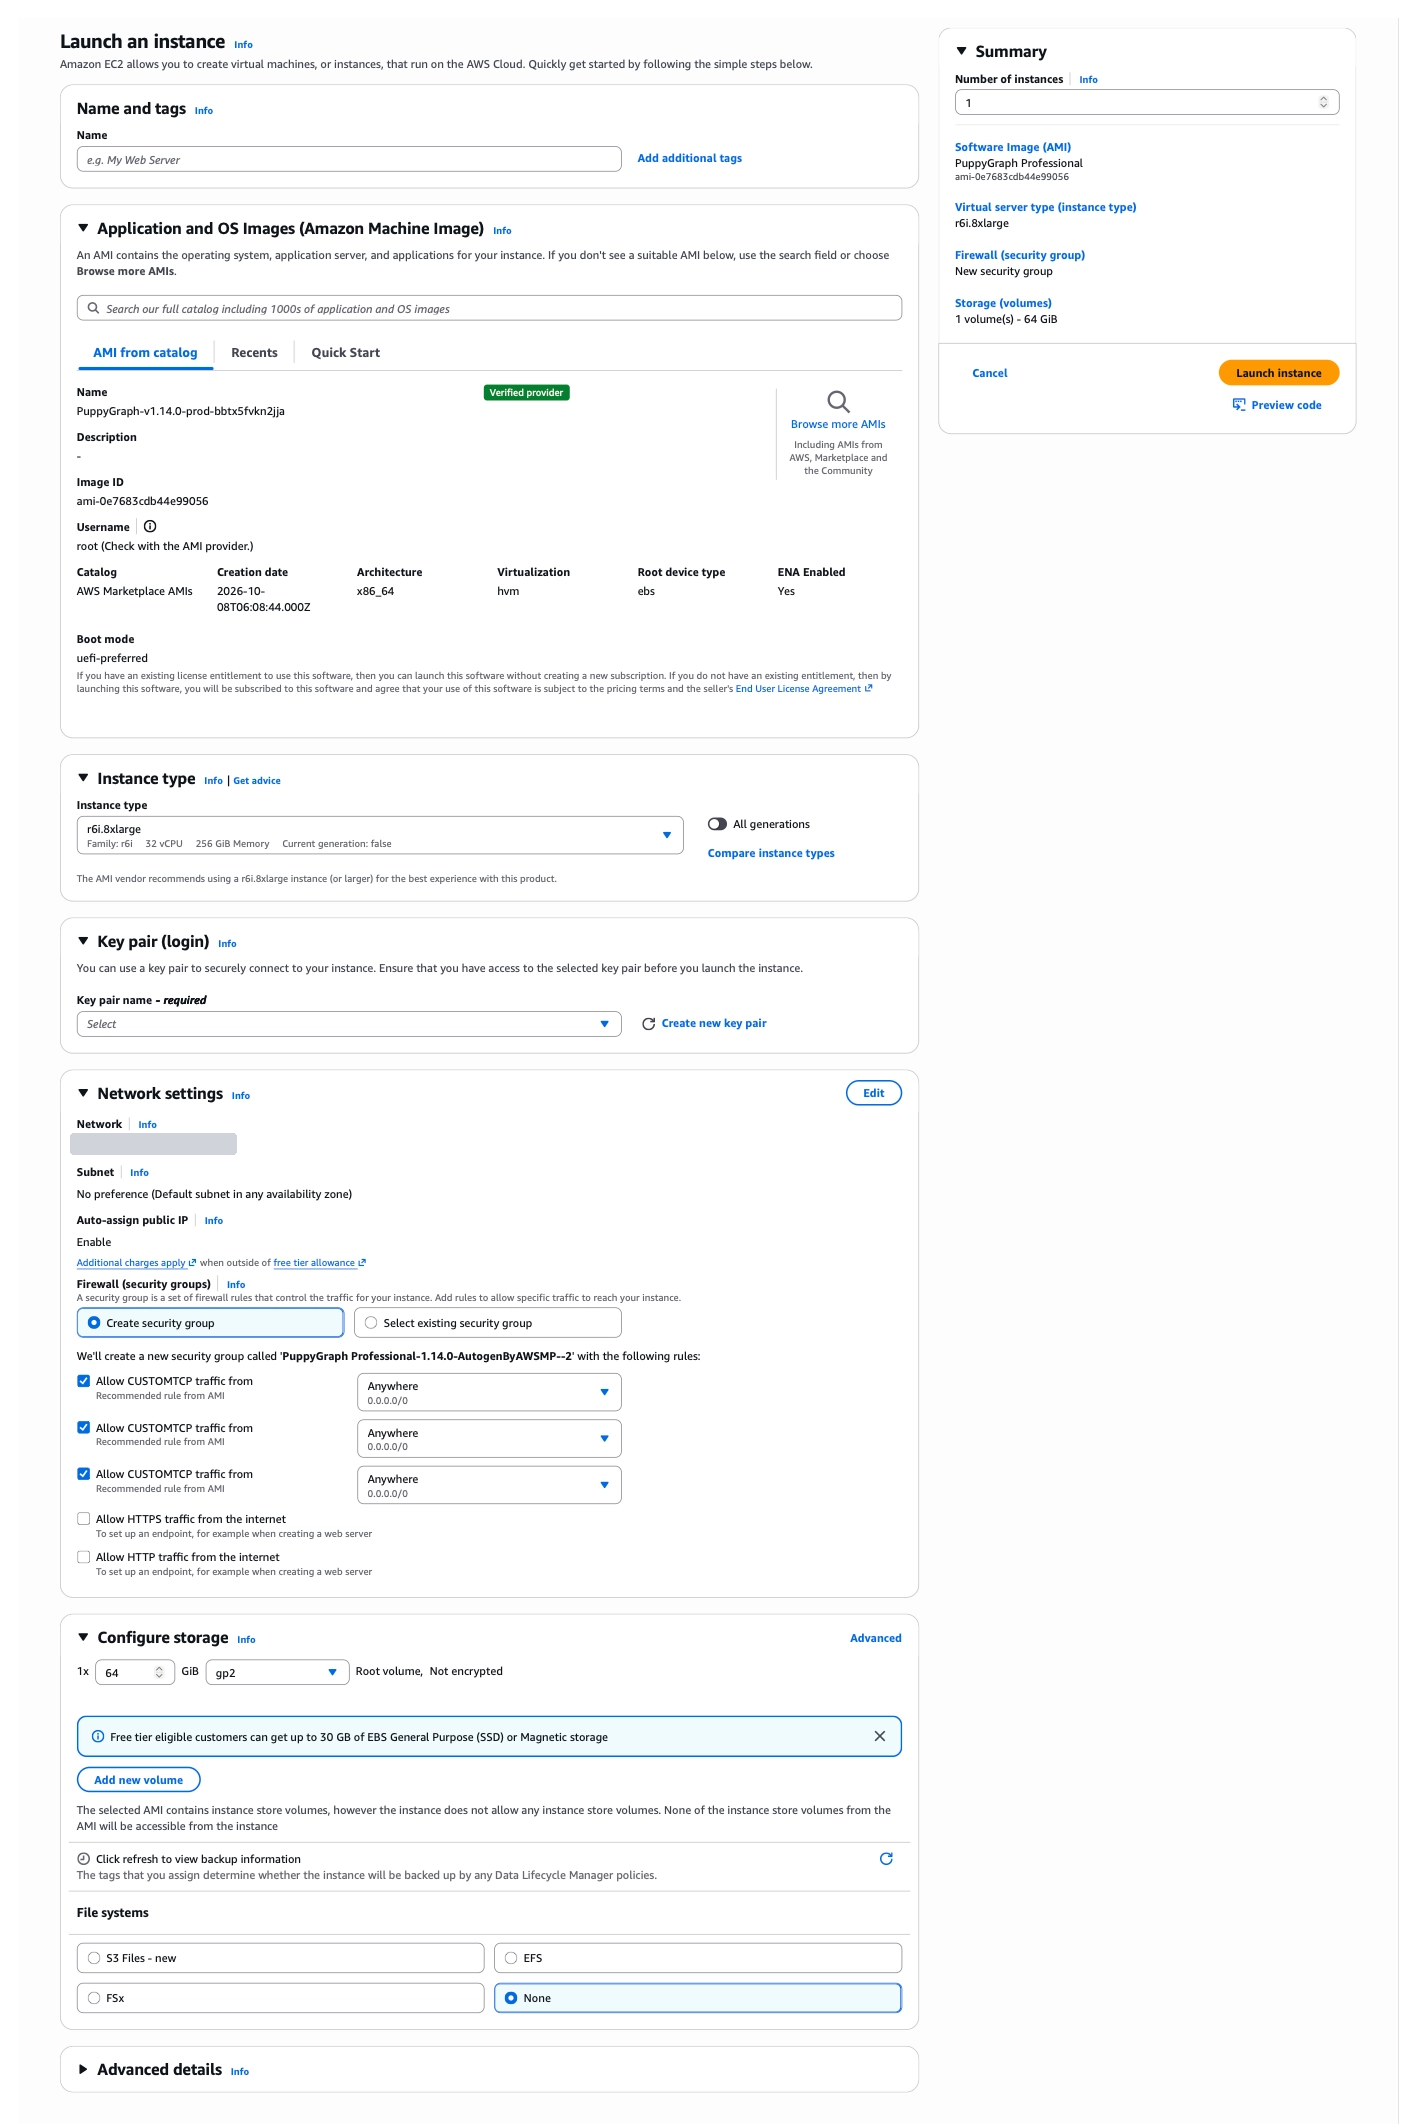
Launch an instance
The PuppyGraph instance has been successfully launched. Click View all instances to view it in the EC2 console.
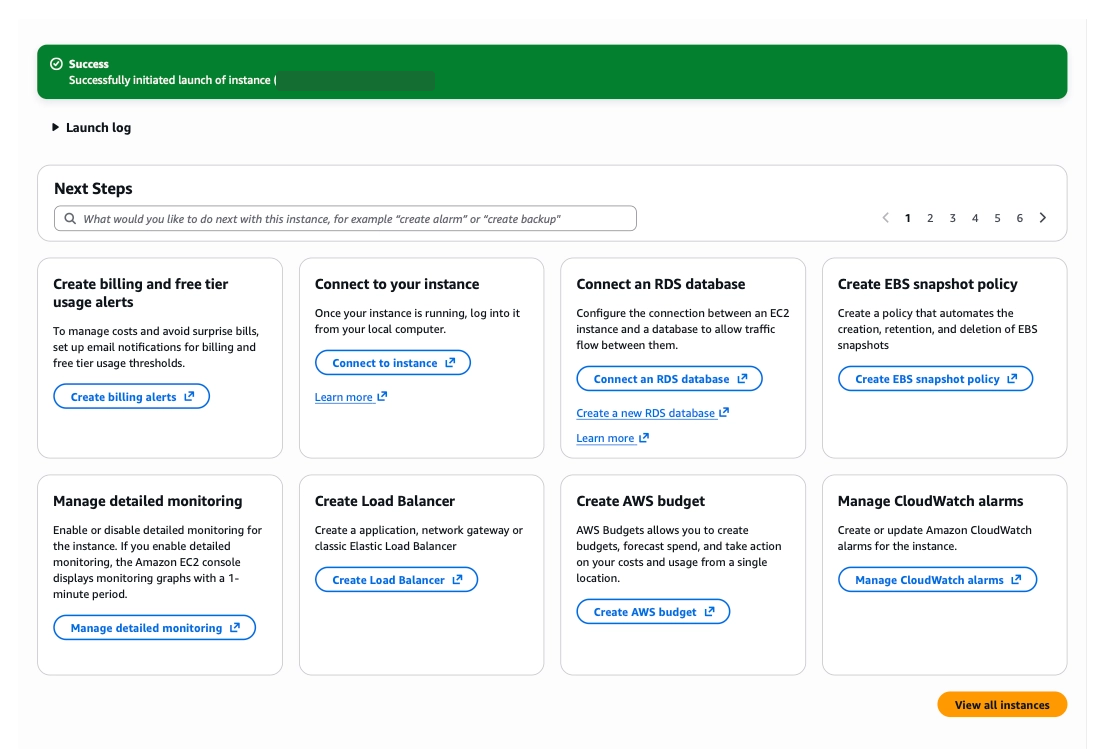
Instance launched
Accessing the PuppyGraph Instance
After the instance is initiated, it will be visible in the EC2 Console.
Make sure to record the following details, as you will need them:
- Instance ID. This is the default password of the instance.
- Public IPv4 address. The PuppyGraph instance is accessible there.
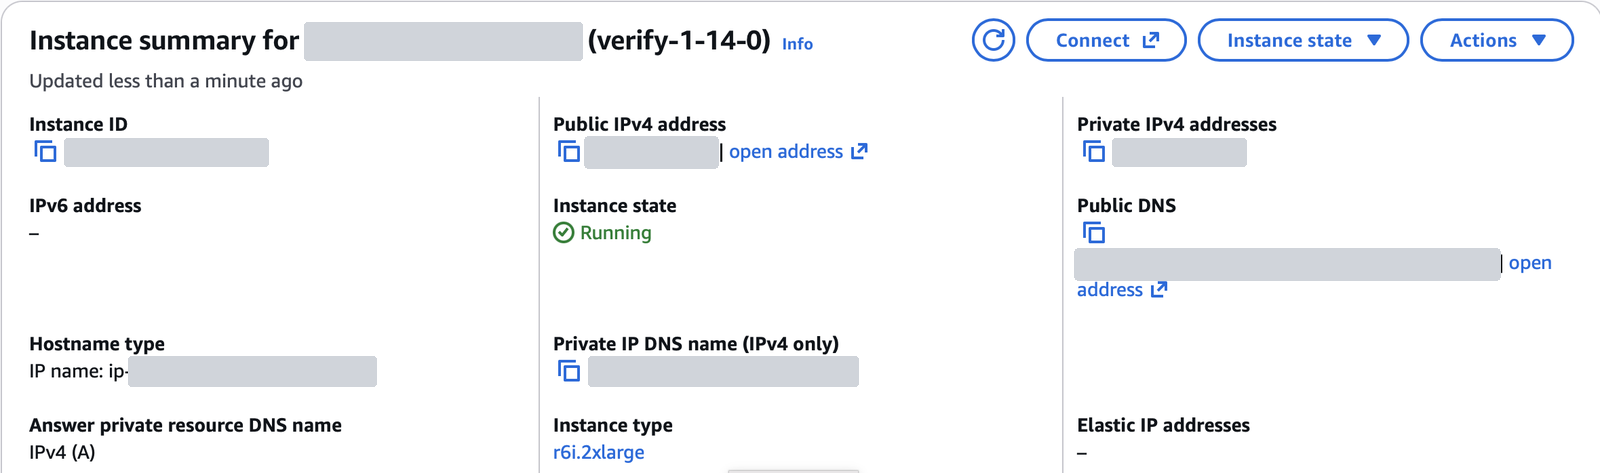
EC2 Console
Access the PuppyGraph UI by navigating to the public address on port 8081. For example, if the public IPv4 address is 203.0.113.10, the address would be http://203.0.113.10:8081.
Sign into PuppyGraph using the default username puppygraph and the default password (EC2 Instance ID).
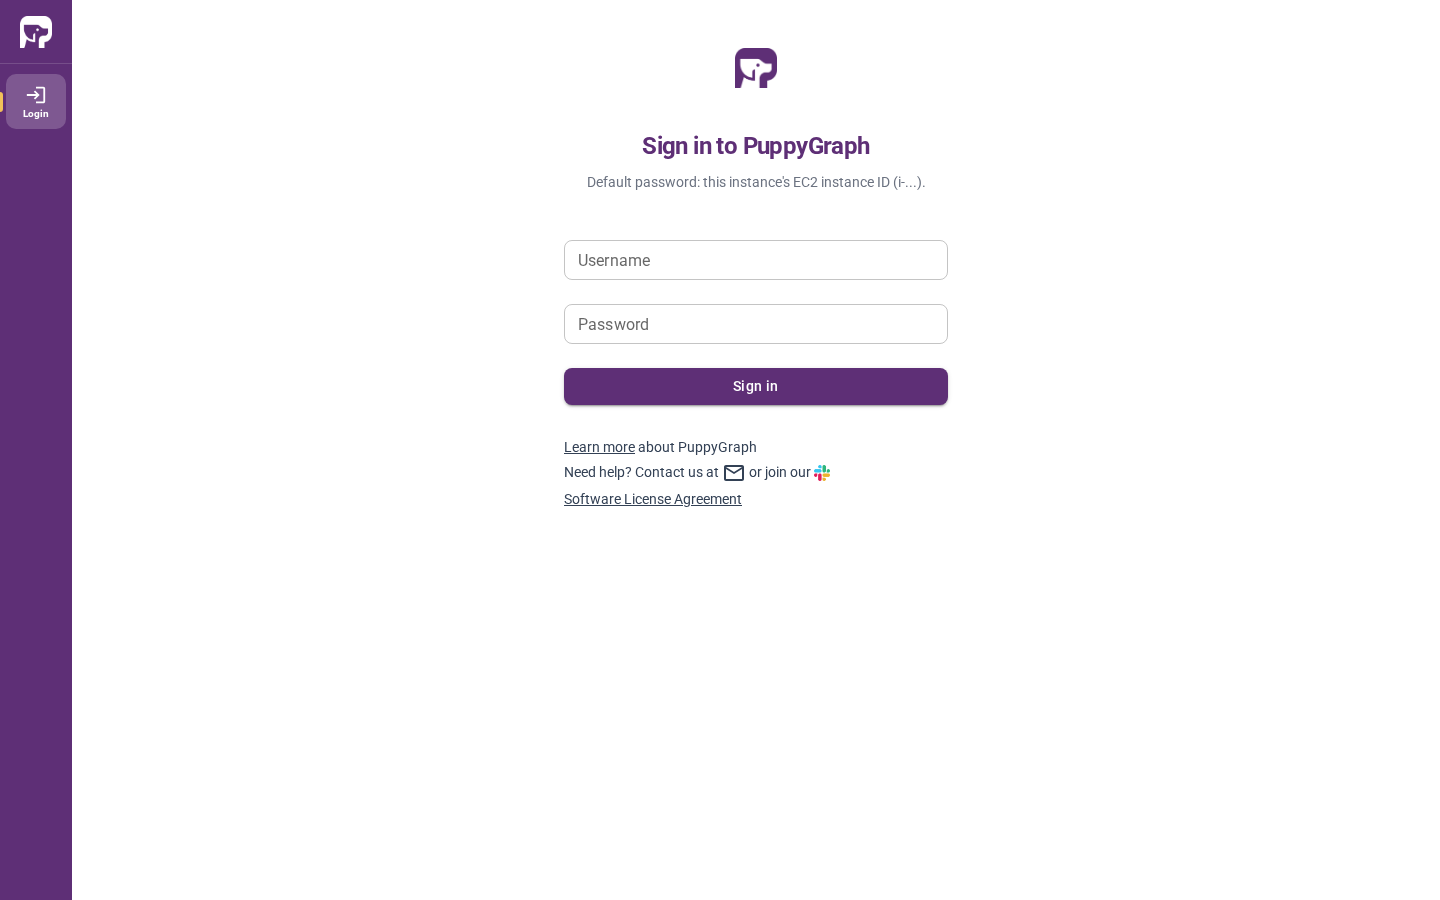
PuppyGraph Sign-In Page
If PuppyGraph is still initializing, the Graph page displays a waiting prompt. Refresh the page to check whether the server is ready.
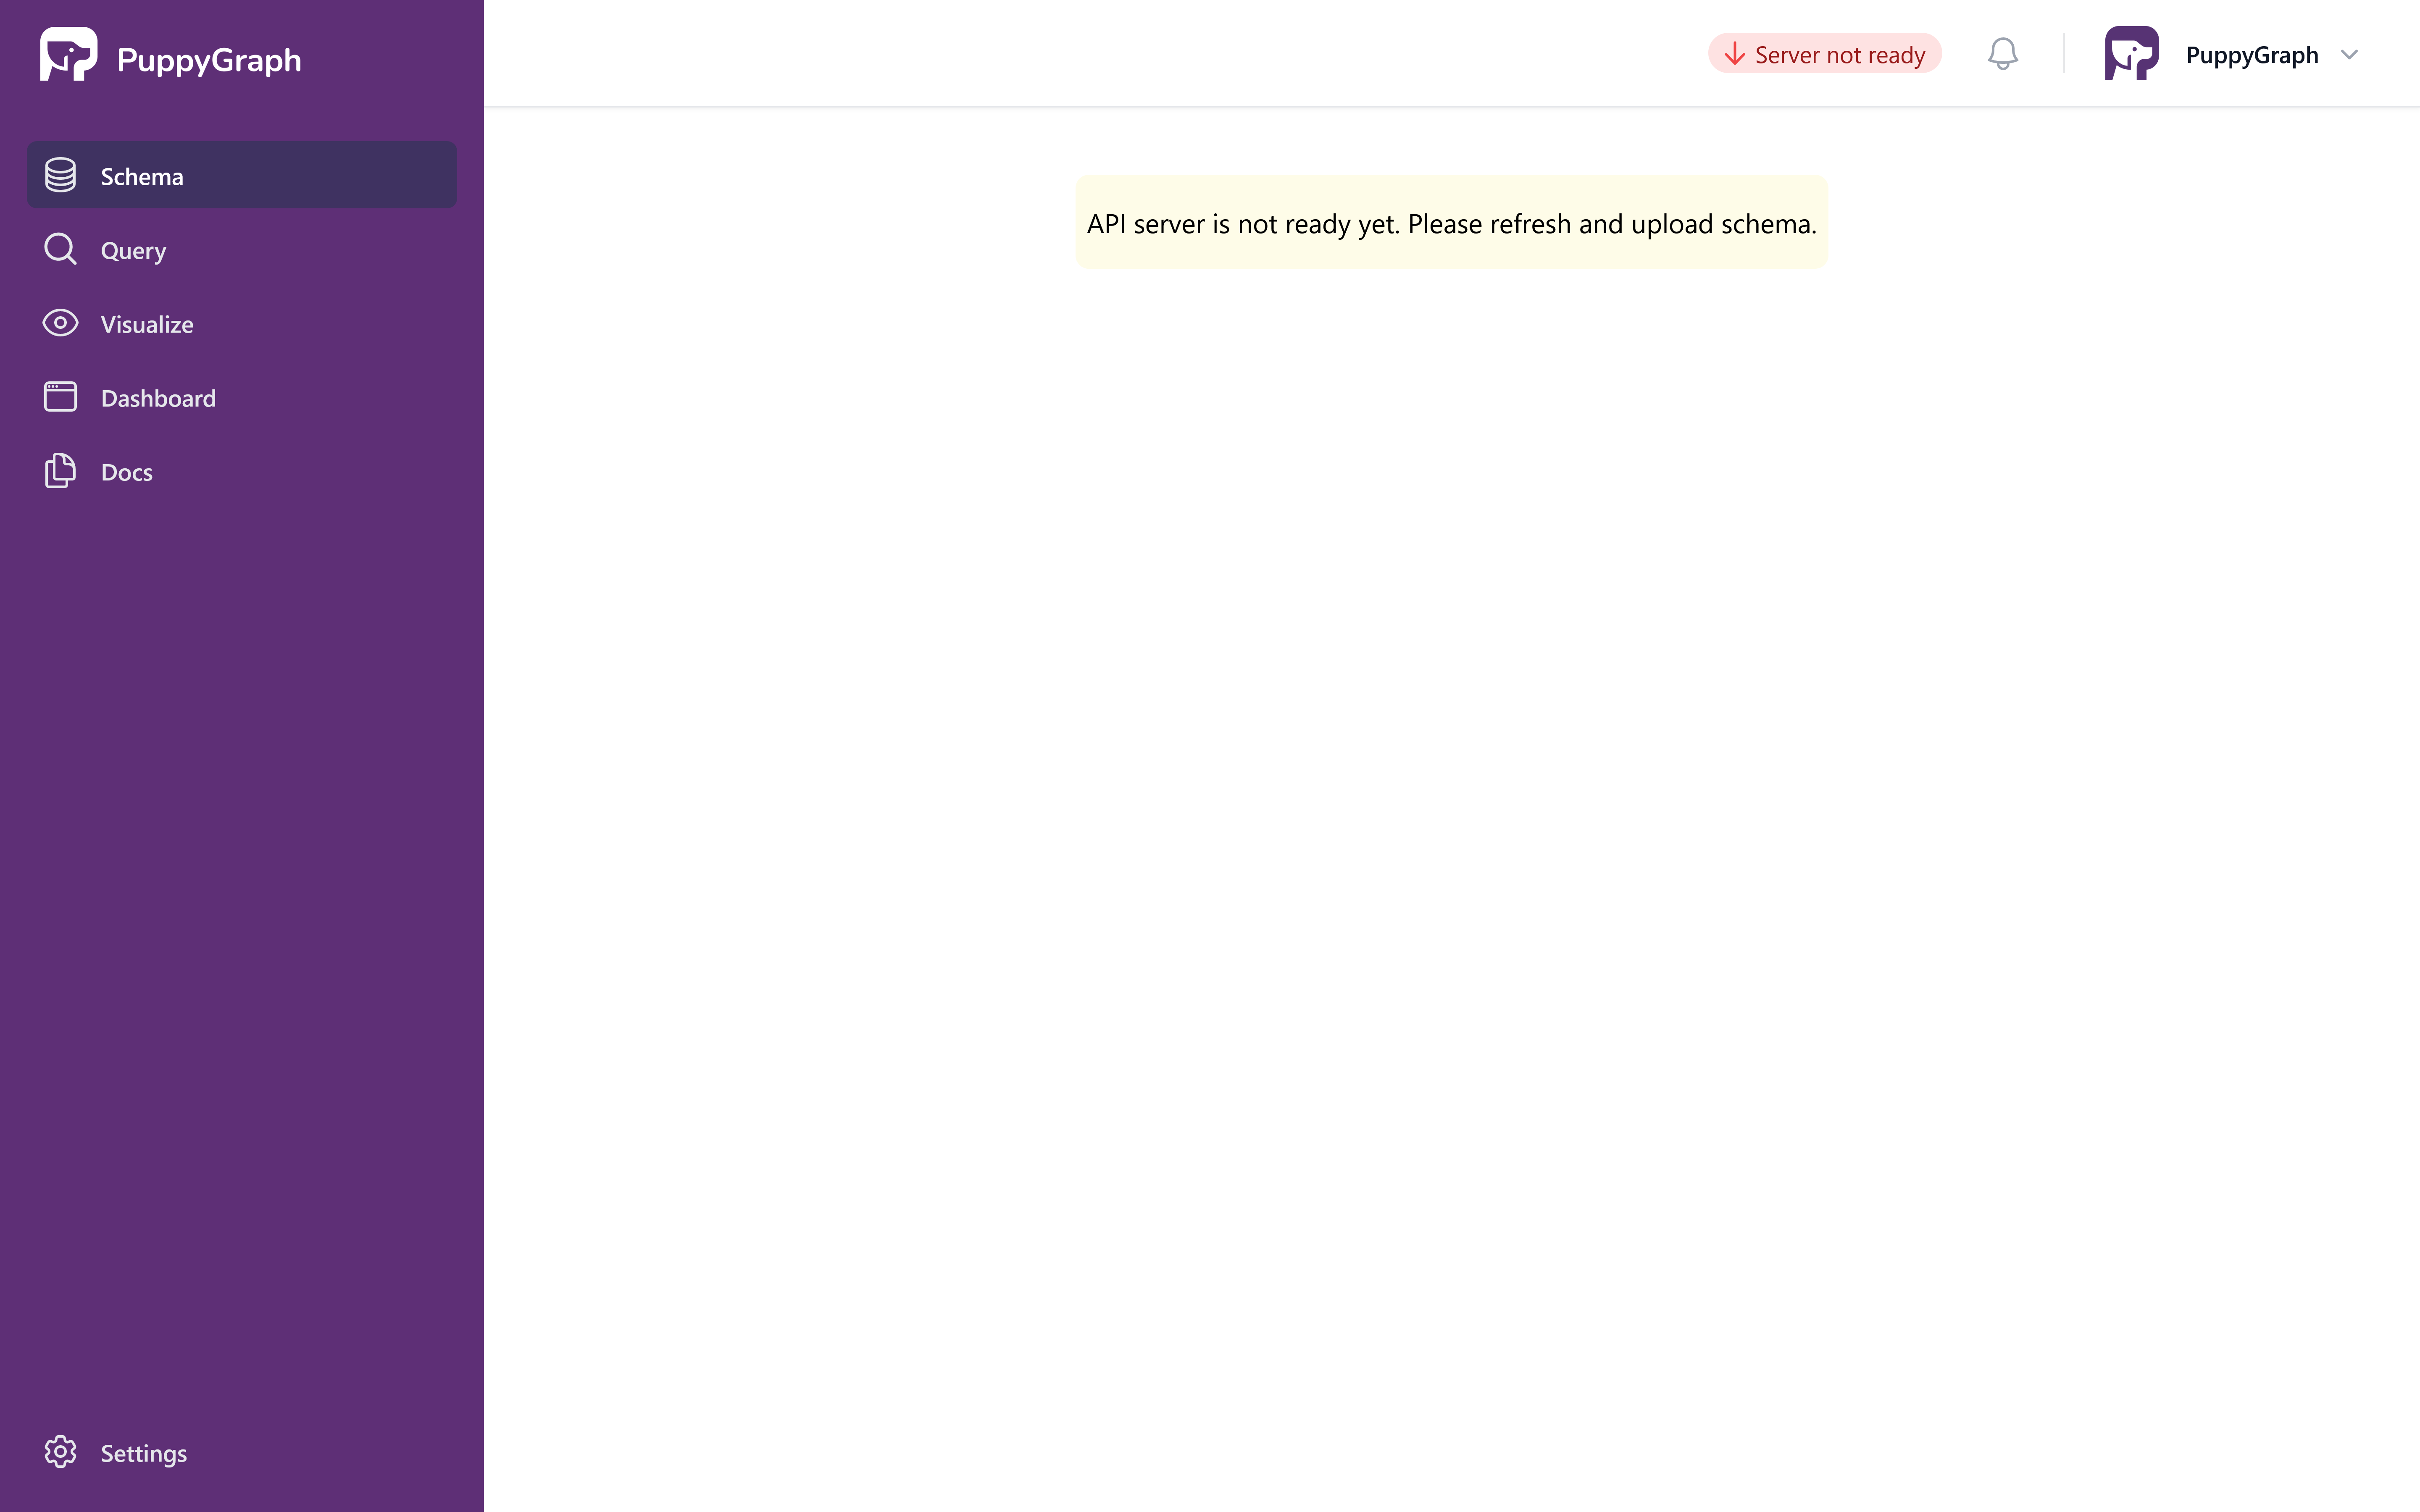
PuppyGraph Server Pending Page
Once the server is ready, the Graph page displays its quick-start options.
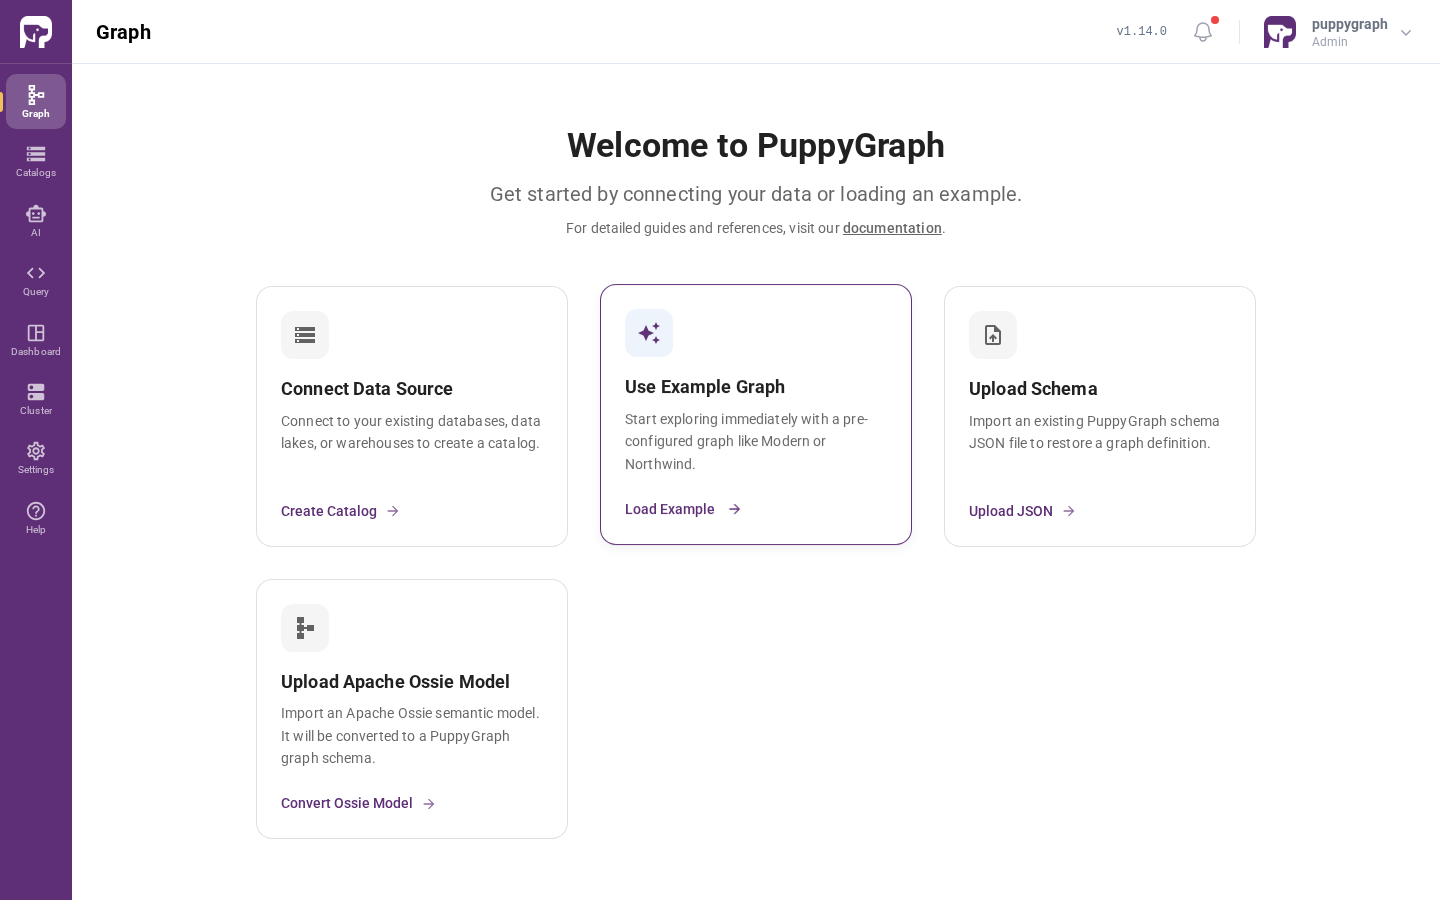
Graph page welcome screen
Exploring the Example Graph
In this tutorial, we'll be utilizing the demo data supplied by PuppyGraph.
Under Use Example Graph, click Load Example, then choose an example graph. The UI shows the loading progress.
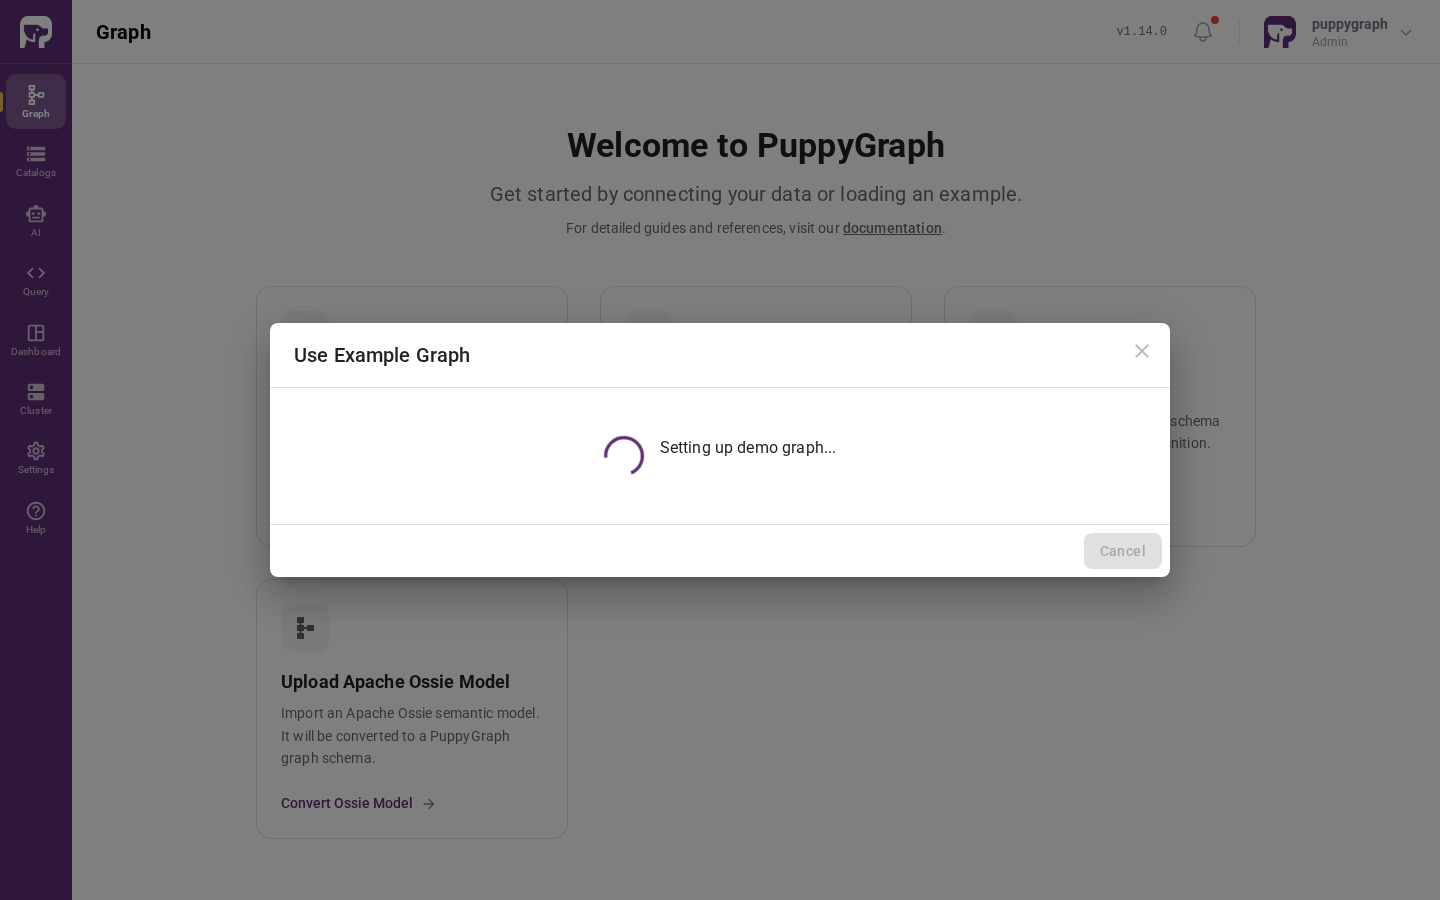
PuppyGraph Schema Loading in Progress
After the schema has been loaded, the page will display a visualization of the graph's schema.
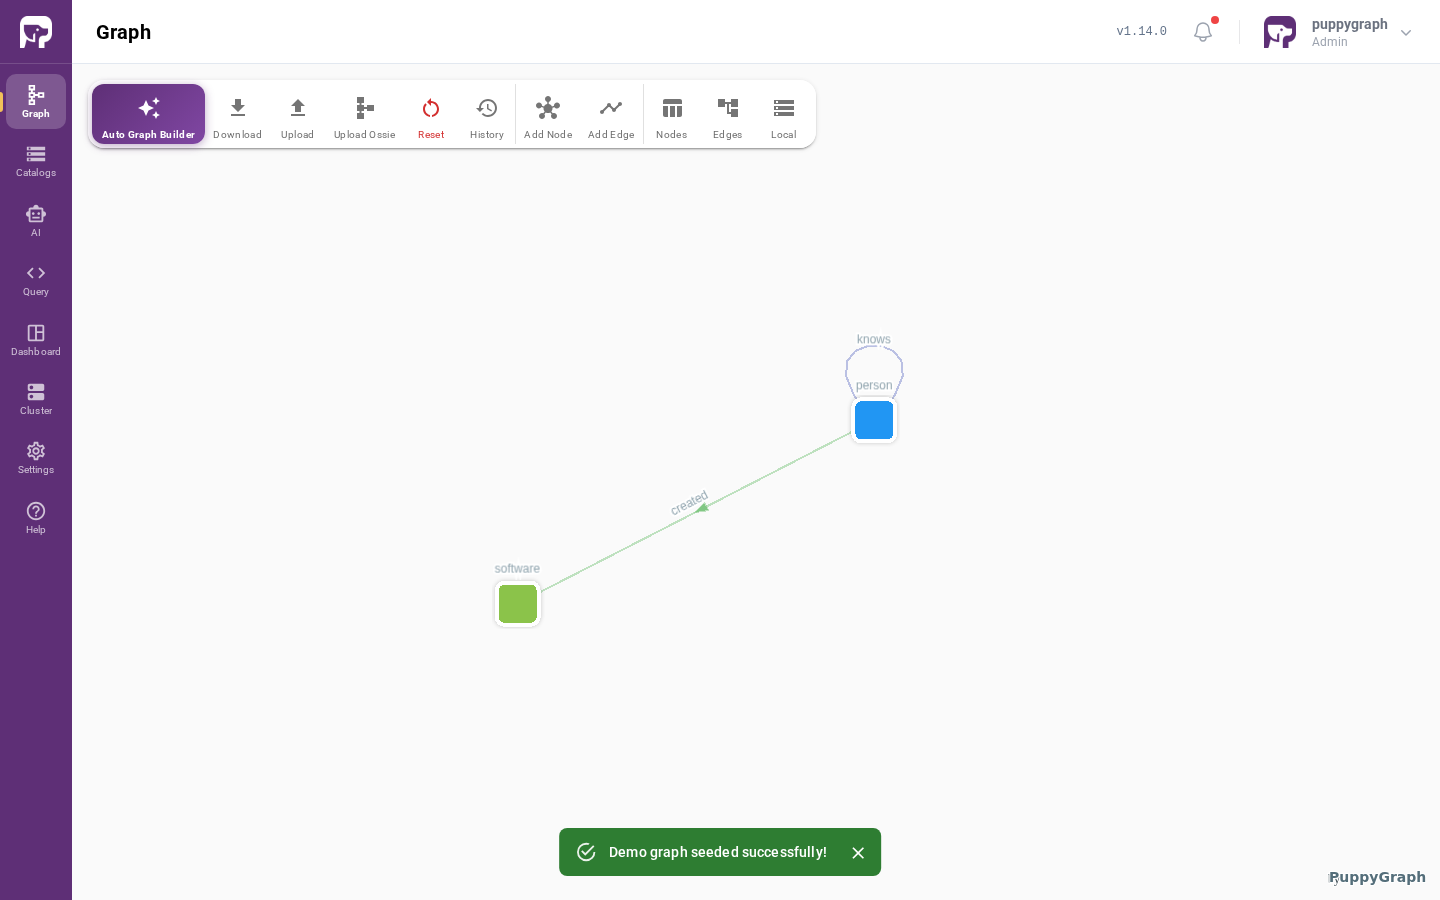
PuppyGraph Schema Loaded
PuppyGraph features a dashboard, enabling you to quickly access essential information from the graph right away.
The default tiles on the dashboard count the total number of nodes / edges and also display the sample data from the graph.
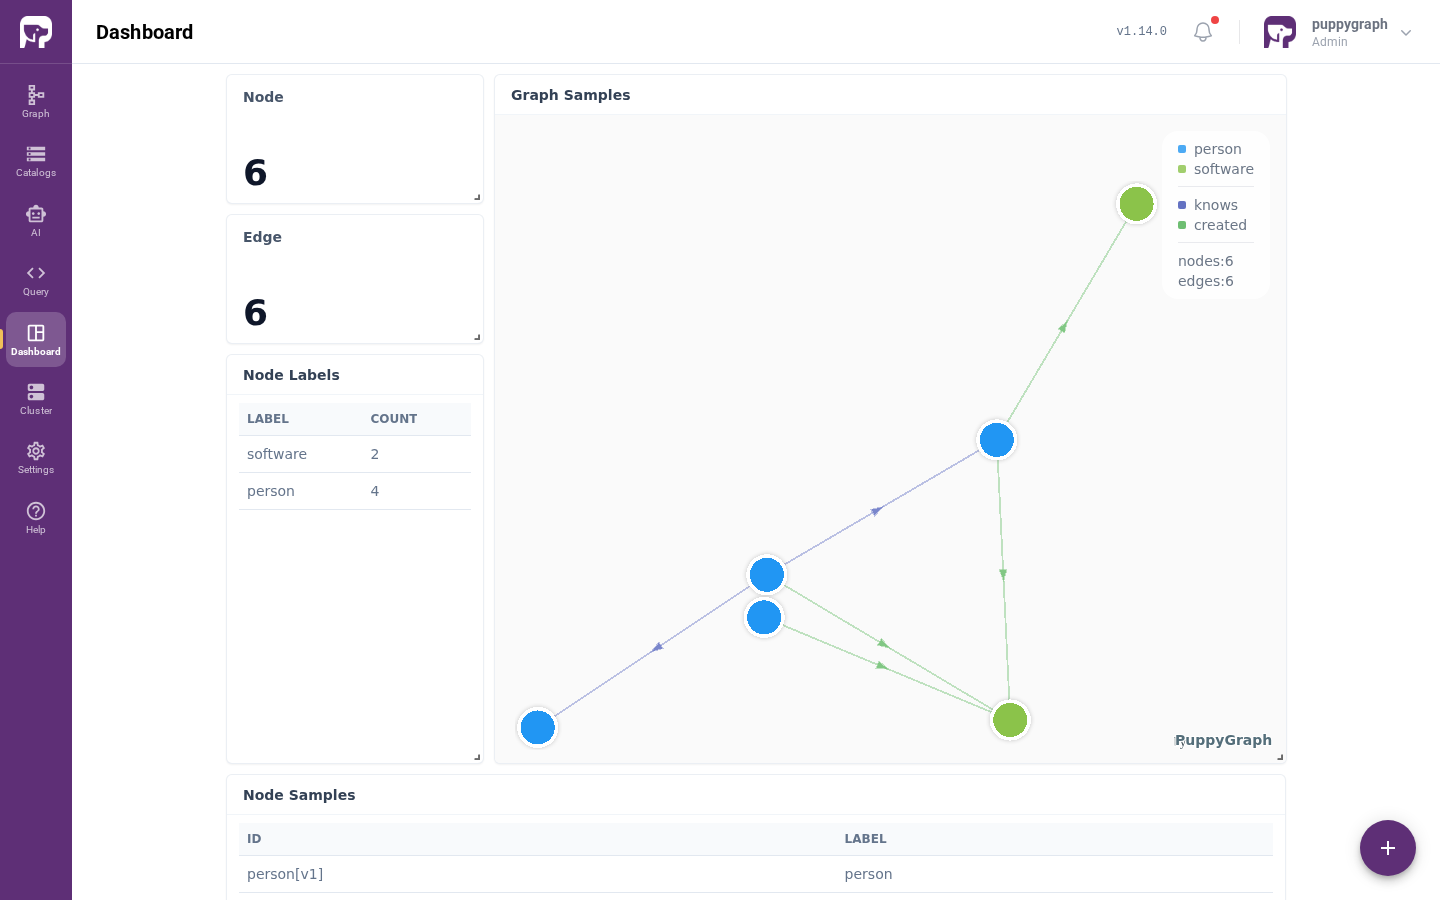
PuppyGraph Dashboard
Cleaning up
To sign out, click on the button located in the top right corner.
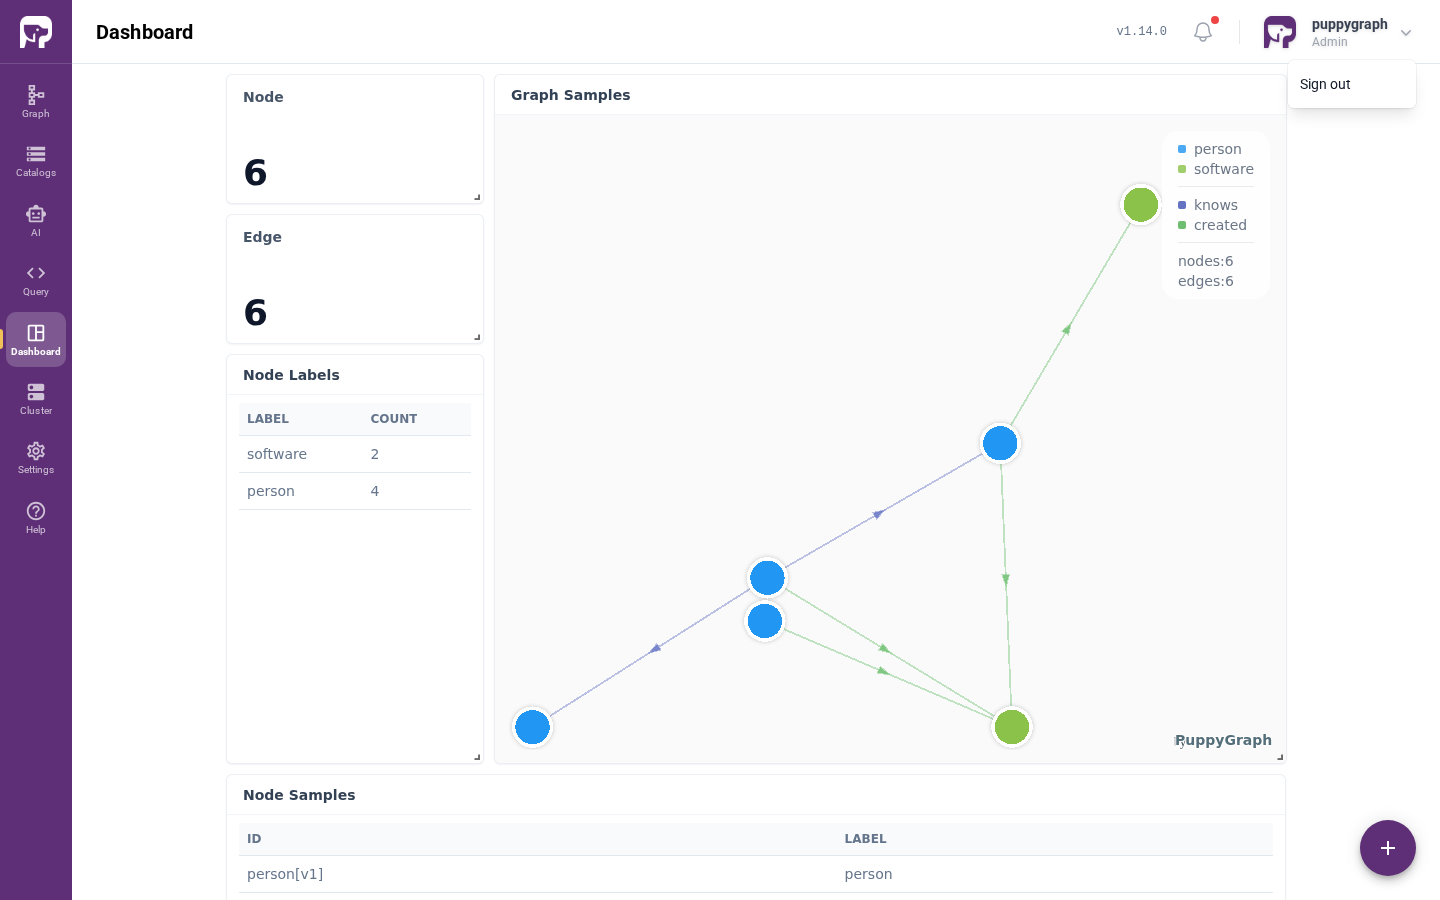
Sign Out
If you are only taking a pause, stop the instance instead of terminating it. In the EC2 console, select the instance, then click Instance state > Stop instance. While the instance is stopped, the instance-hour charges (the PuppyGraph software fee and EC2 compute) stop, but its EBS storage is still billed. Data on the EBS volume is kept. To resume, click Instance state > Start instance. PuppyGraph starts automatically, and the default password is still the instance ID. Unless an Elastic IP is attached, the public IPv4 address and public DNS name change after a restart, so use the new address shown in the EC2 console to reach the Web UI.
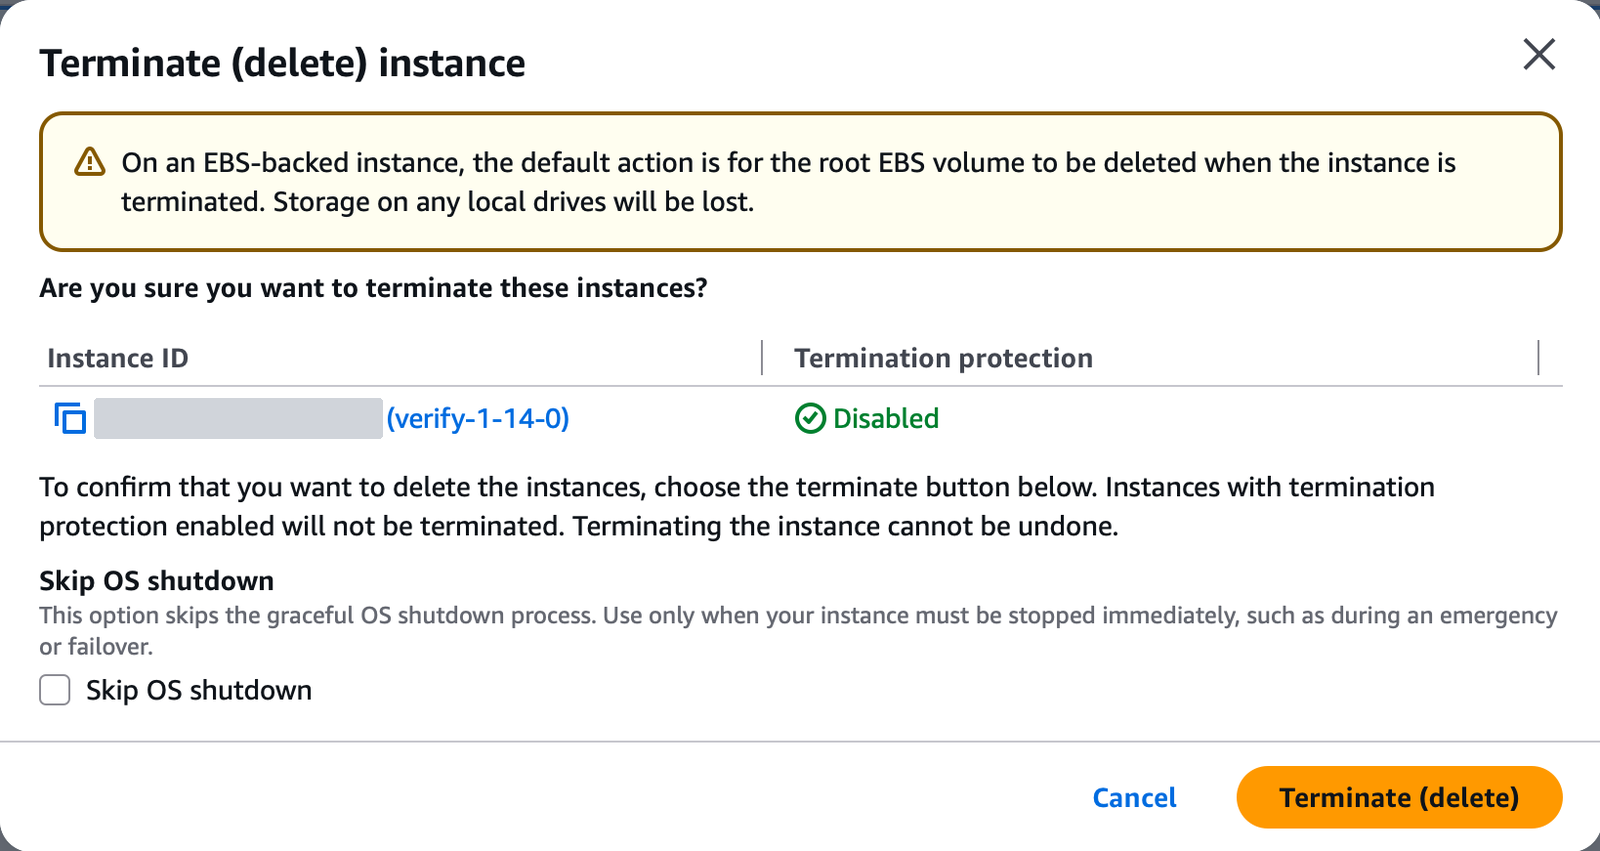
After completing the tutorial, you can proceed to safely terminate the EC2 instance. In the EC2 console, select the instance, then click Instance state > Terminate (delete) instance.
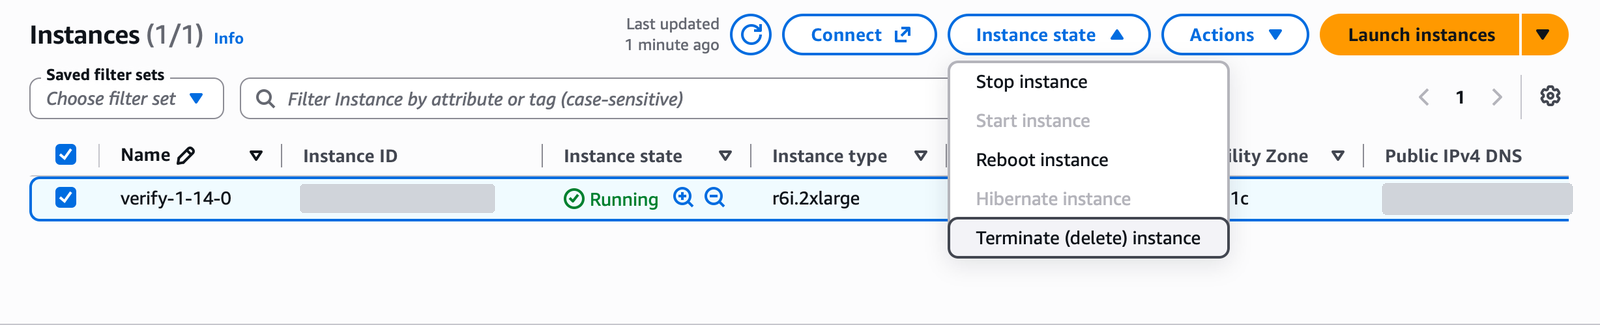
Terminate the EC2 Instance
Click Terminate (delete) to confirm.
Confirm termination